More Radiator Modification Pics
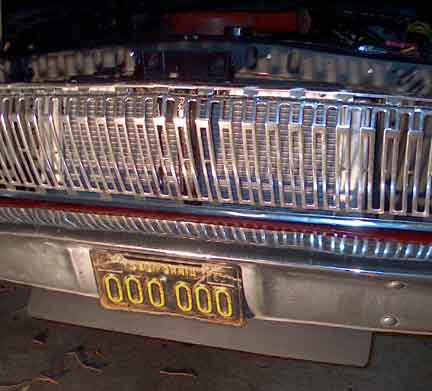
From the front, you can see through the grille to the aluminum radiator. The small air deflector at the bottom is bolted to the radiator support beam, ducting air and small animals up into the bottom half of the radiator. Probably not needed, but I had extra sheet metal.
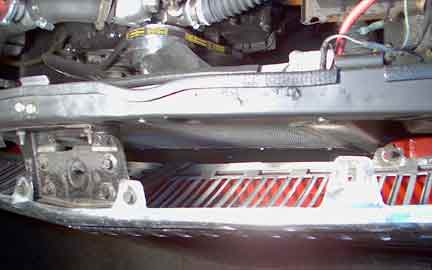
Looking down behind the grille clear to the air dam, you can see the stone gaurd has been trimmed away to allow airflow to the whole radiator. There is still plenty of room to put the A/C condensor back in, but I had to trim the two bottom center mounting tabs off of the grille. That other top grille support is in the garage somewhere...
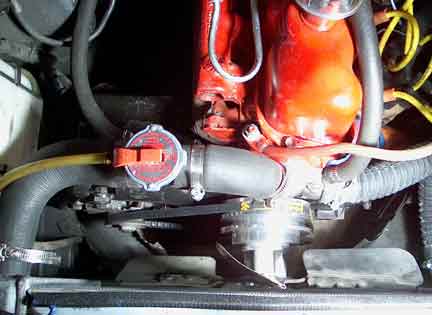
Below you can sort of see the fan clearance. It's about 3/8ths of an inch from the fan front to the radiator. This is a stock fairmont five blade fan, I also have a bigger bhp robbing six blade, and I haven't noticed any difference in cooling, Both run between 190 and 195, always. We'll see if the A/C makes a difference with just the five blade fan when I get back around to it. This shot also shows the filler cap well, and the custom pulley. I realized I didn't need the custom pulley and short nose water pump AFTER I found I needed a spacer (measure once, pay twice). But the aluminum pulley looks cool and is staying on forever.
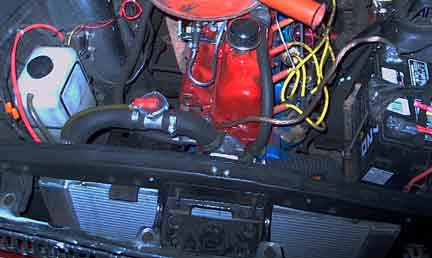
Here is a shot of the whole mess together. Filler cap, overflow bottle, relocated battery (no, it's not a '63), extra long positive battery cable. I've got a DSII diz and controller that will go in, when I have time. And the old worn out Holley is going into the garbage can. I've got a rebuilt-for-economy 1946 ready to go. Eventually I'll find time for those headers (and then tri-power).


