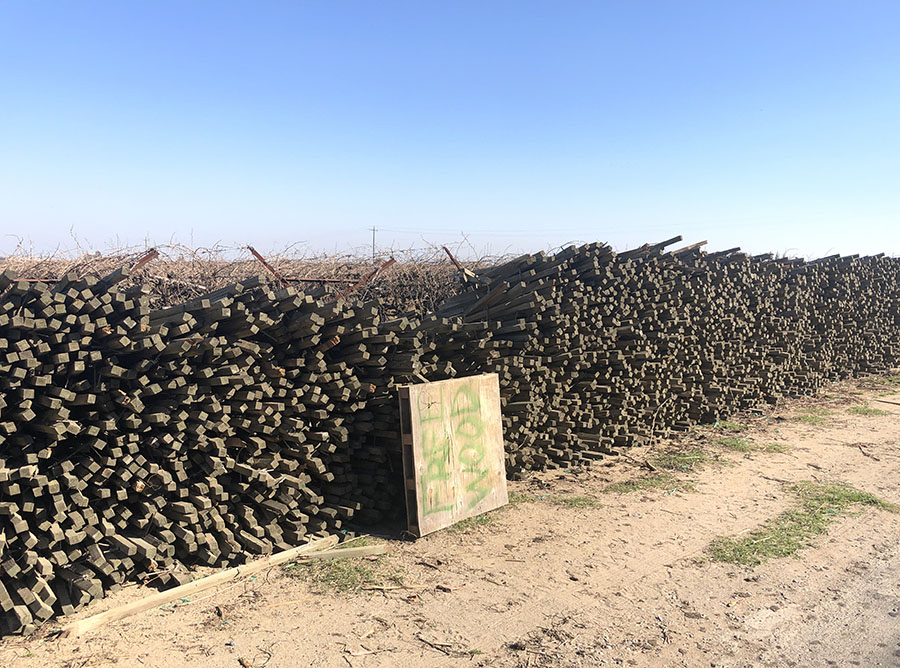
I already have a culled stack of winners, about a thousand or so. It only takes two to make a guitar body, so a lifetime supply. I've gone over the history of these stakes elsewhere.
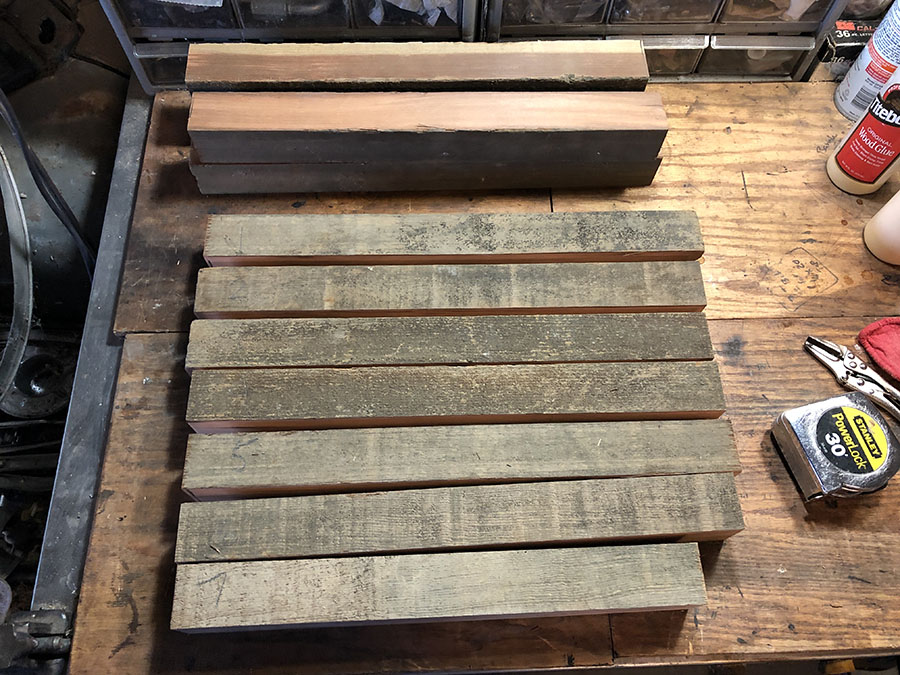
Plane, chop, mate, and glue. I don't plane all four sides, just the glue faces. I want all the thickness I can get.
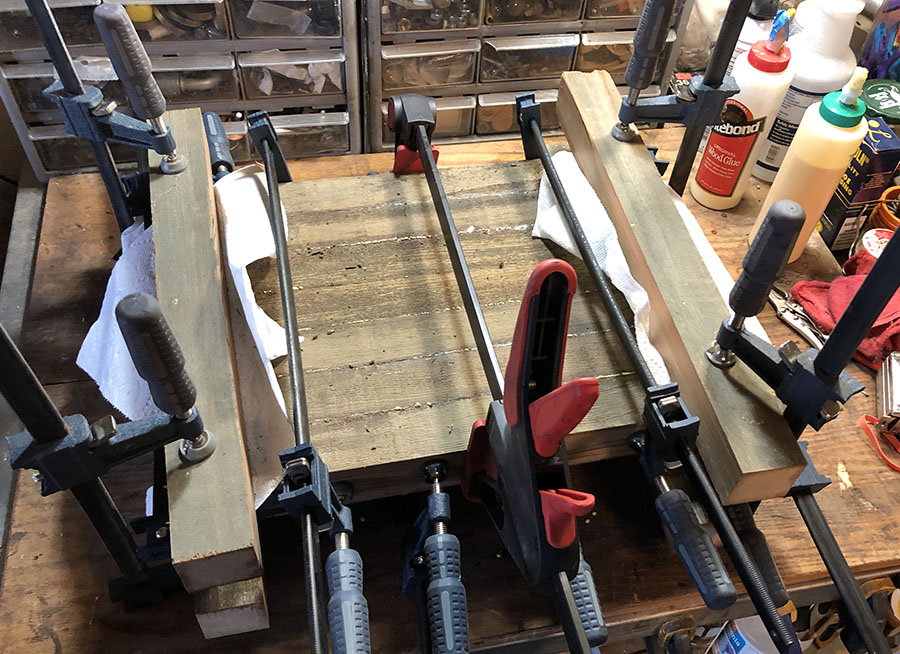
Glued and clamped:
Raw billet:
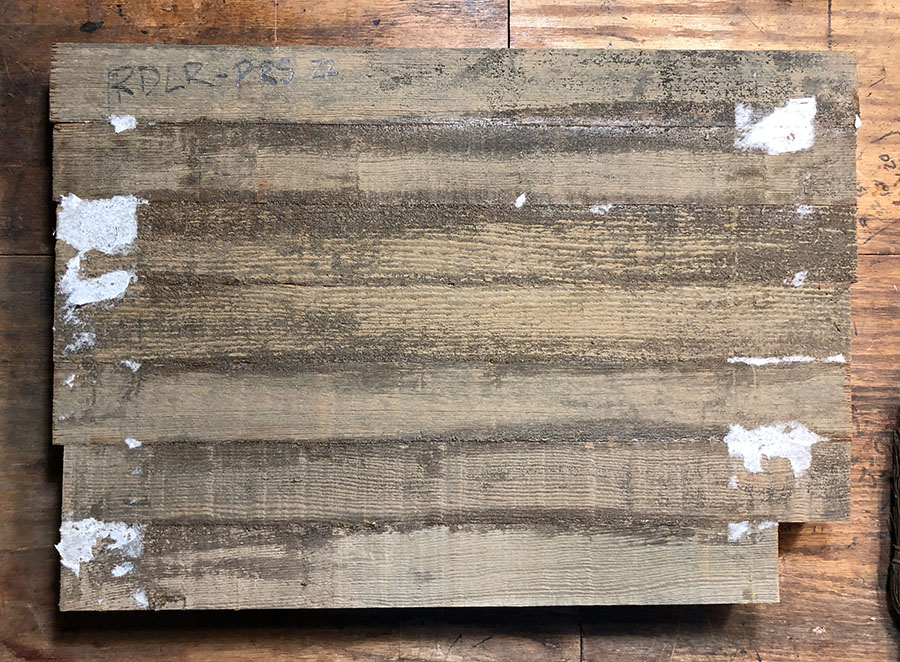
Front side, planed:
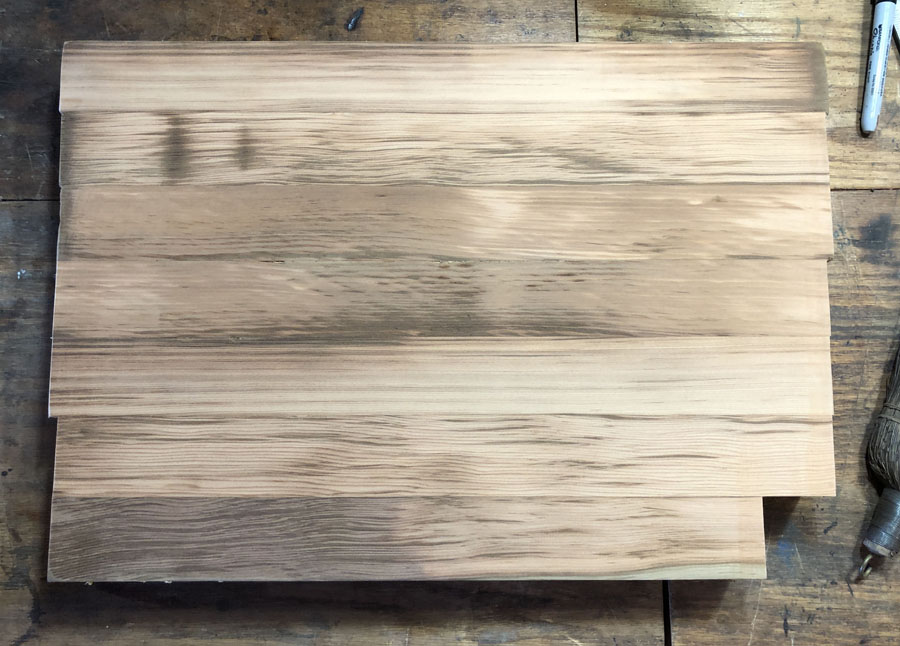
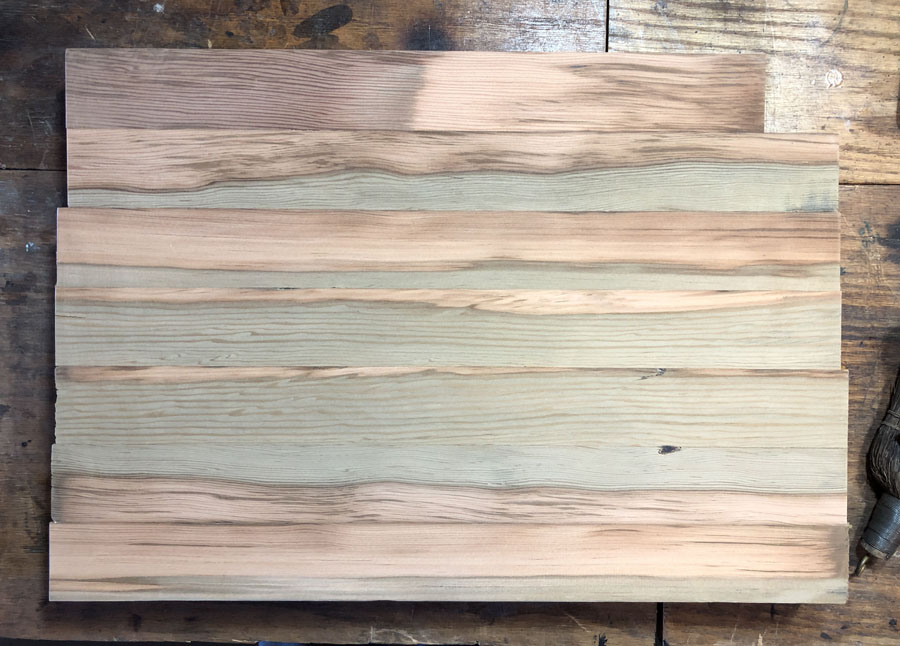
Back side, planed:
Final planed billet thickness is 1-7/8". Just barely thick enough for a carved top guitar. Plenty thick enough for most other solid body guitars and basses. There is no hardwood spine on the this build. I'm going to trust that the -perfectly- fitted old, 50 year aged, redwood and titebond glue neck joint is strong enough to hold the set neck in place. 50+ years dried, old growth redwood is the most dimensionally stable of all the soft woods. So, it's not going to warp. Shatter, rip apart, explode... maybe. If the neck rips out, I'll lay in a piece of maple and call it good.
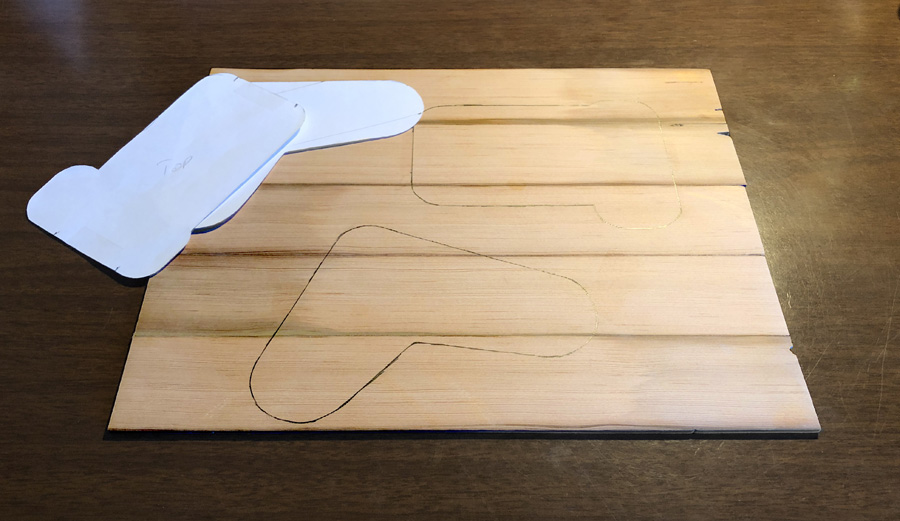
Body traced, ready to cut:
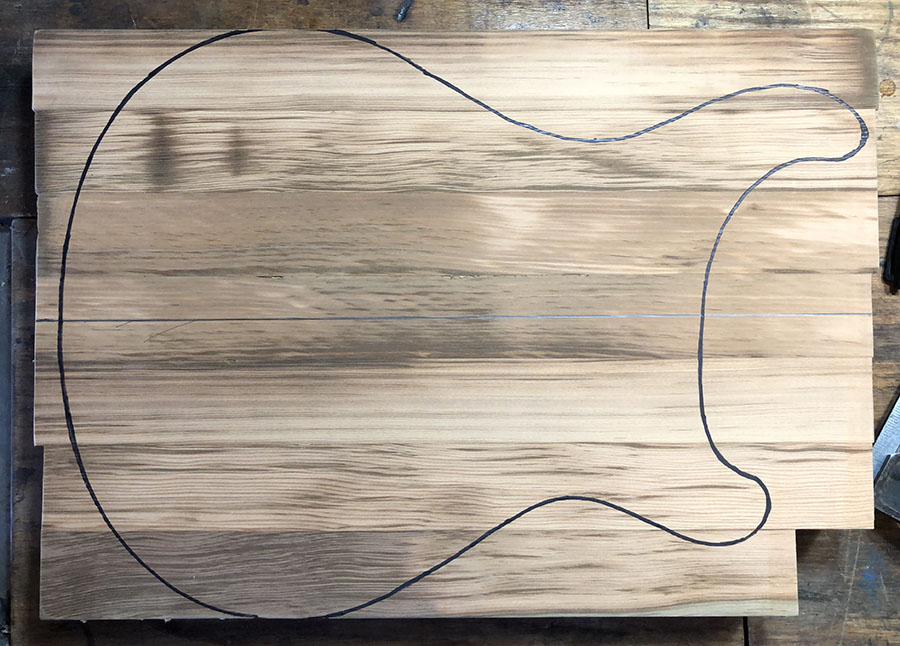
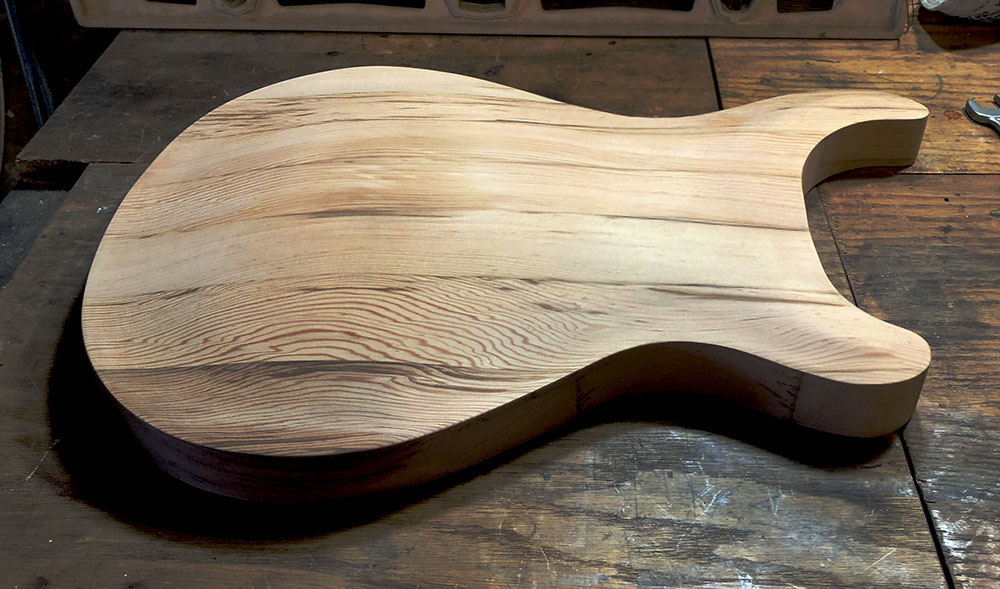
It's thick!
Cut and sanded:
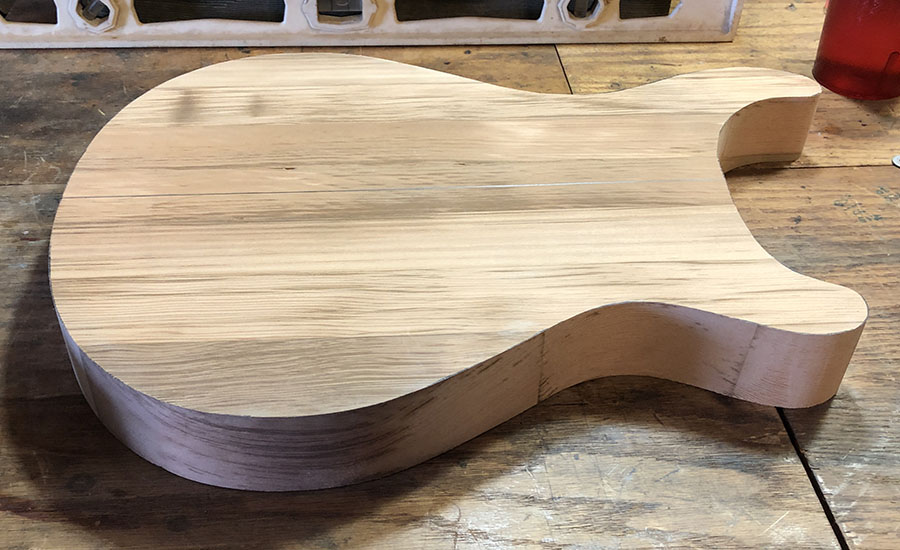
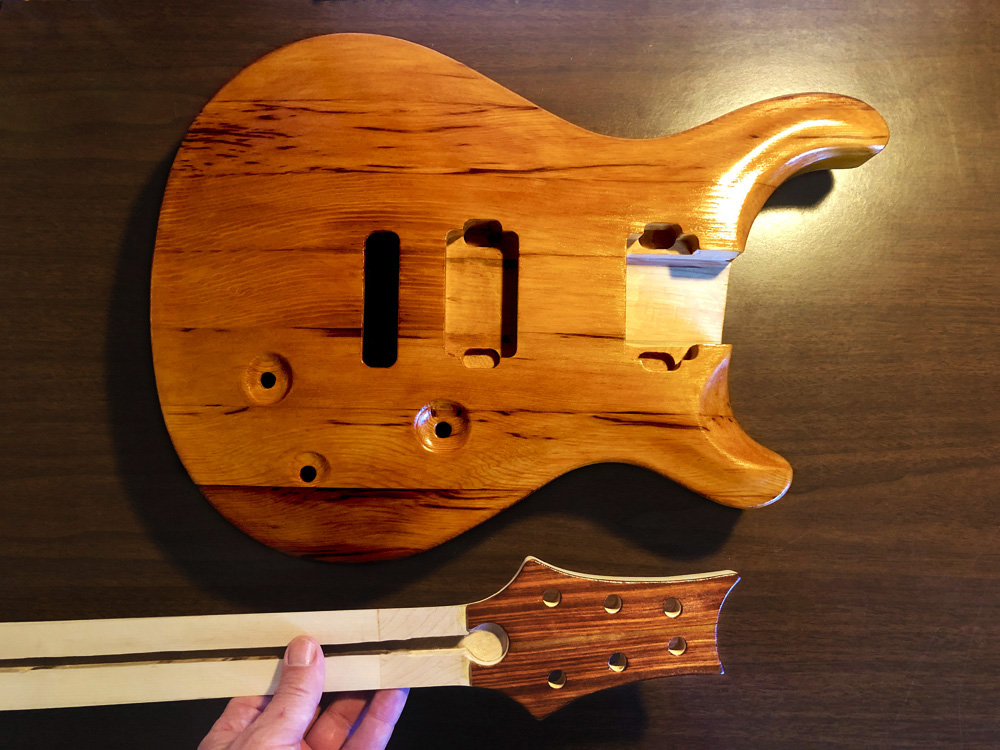
A full day of carving later, it has some shape.
I laid out the elevation lines on the blank and routed off the steps (forgot to take pics). Then, I ran through a few 80-120-220 grit disks on the orbital sander blending everything together.
I used the nice acrylic StewMac templates for the pickup and tremolo routes. I made the heel end and width of the neck the same as a Telecaster. Squared off. The neck angle on this guitar matches the carve angle, about 3 degrees. So I mounted the Tele neck pocket template directly to the sloped body.
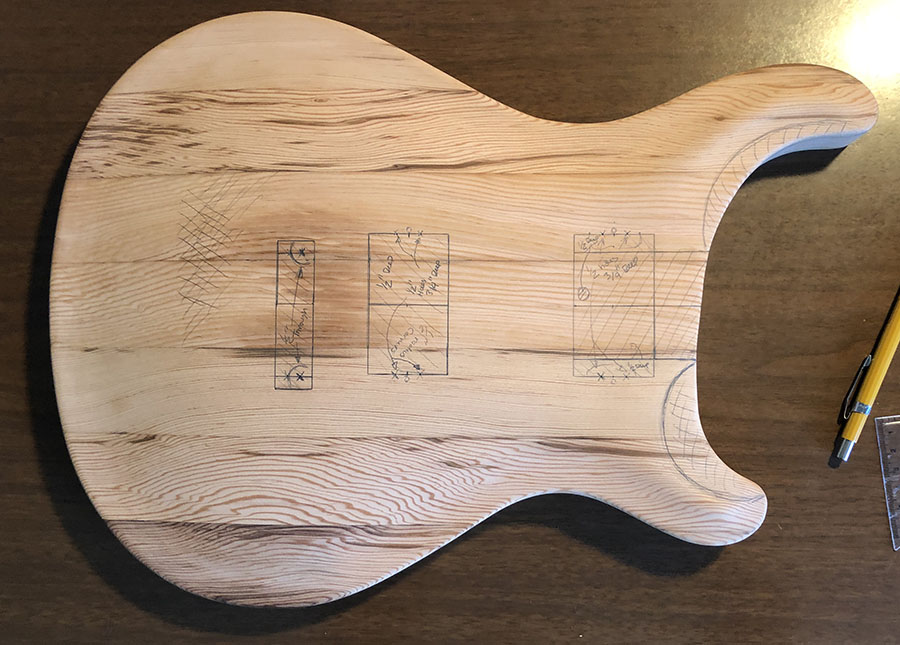
And, I cut in some PRS style knob recesses with a 2" dia. cove bit. I pre-drilled the shaft holes for the pots and switch. They were 3/8" diameter. The big cove bit has a bottom bearing which can be swapped from 1/2" dia. to 3/8" dia. The 3/8" dia. bearing fits right into the pot shaft hole and guides the bit into the wood without wobbles.
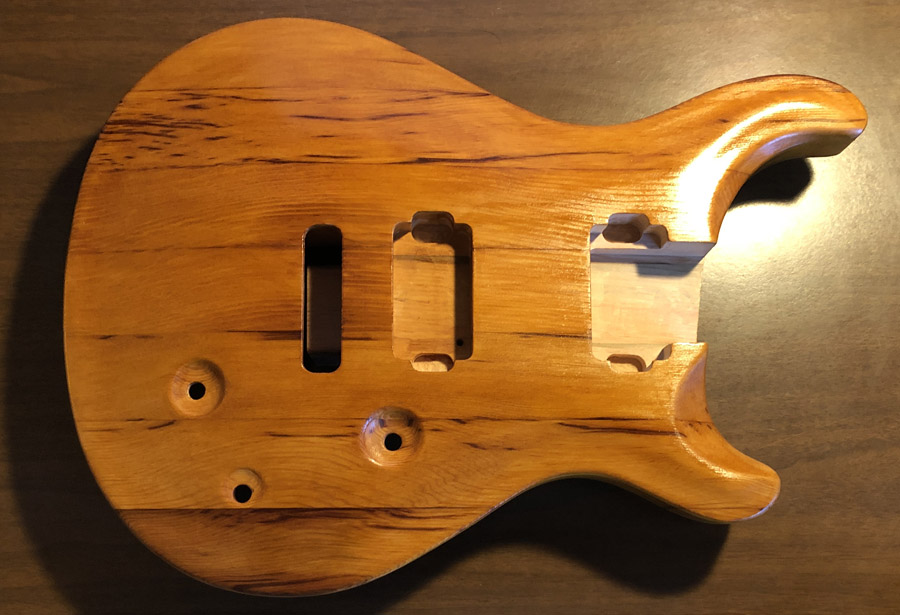
Routed:
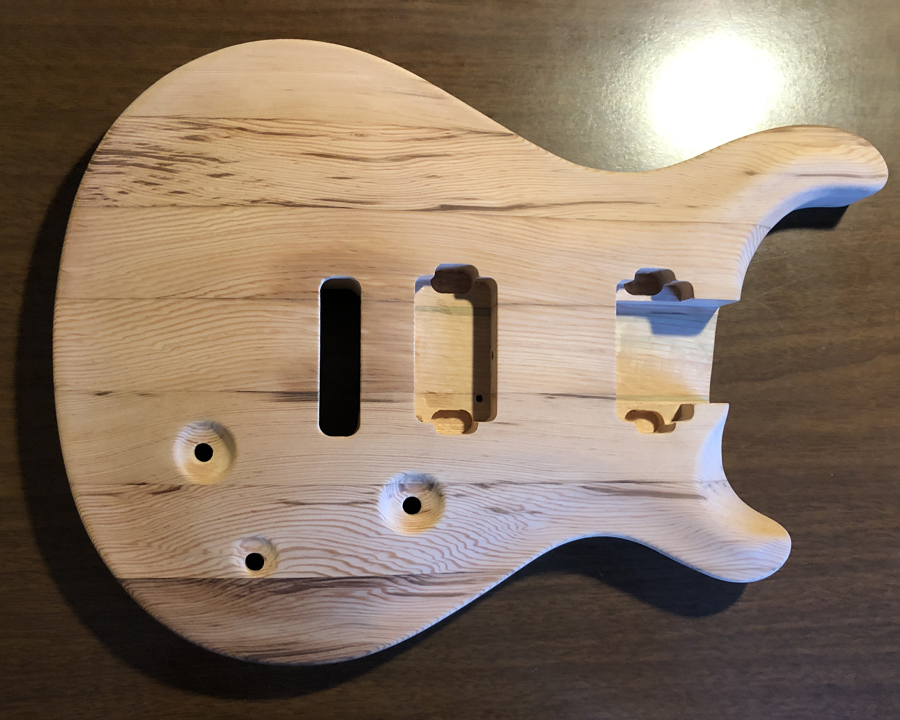
I made a 3/4" plywood template for the boomerang control cavity. For the spring cavity, I just used a standard StewMac Strat spring pocket template.
PRS spring covers are a big trapezoid, but I'm going to do jigsaw fit covers instread.
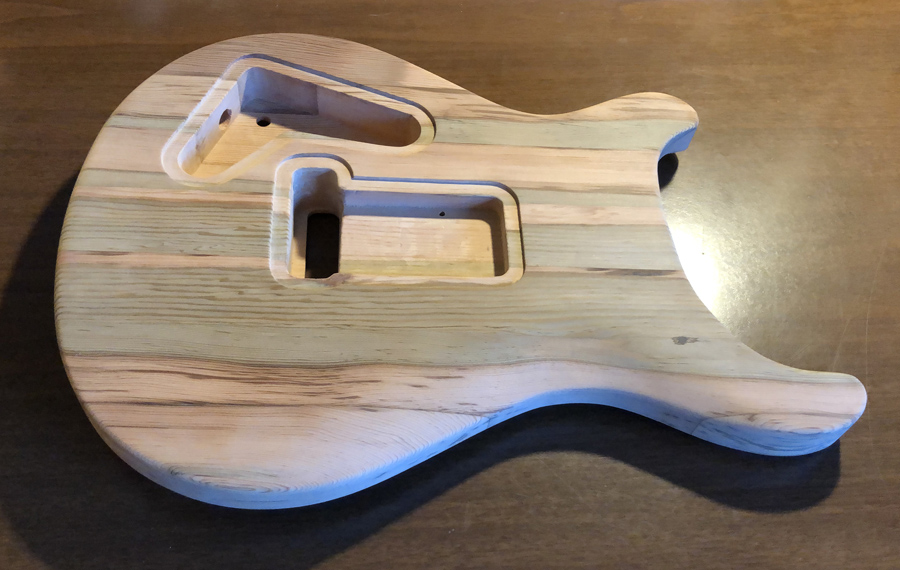
The back control cavities routed in, with a lid relief:
I drilled the input jack hole with some countersink. This uses a 1/2" barrel jack.
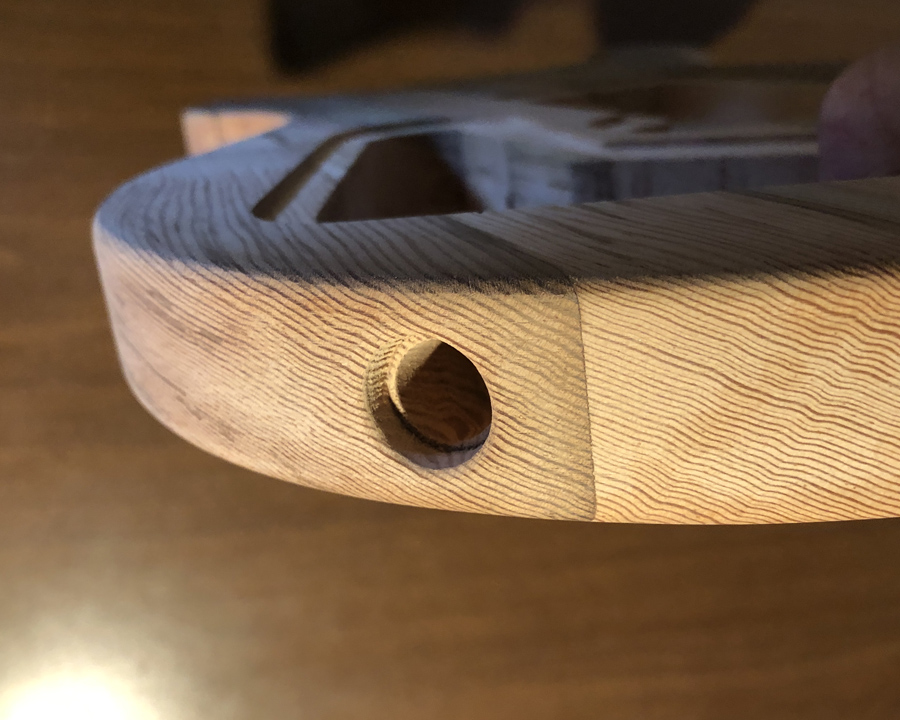
I had to make a tool to back cut the countersink from inside the control cavity. For this, I chopped the head off a 1/2" bolt and filed some backwards teeth into a matching nut. I chucked the bolt into the drill, slid it through the hole and screwed on the "back-cutter" bolt. The treaded part of the bolt stub is short enough tha I don't need a jam nut. Then, fire up the drill and pull until the cut is the right depth. Easy.
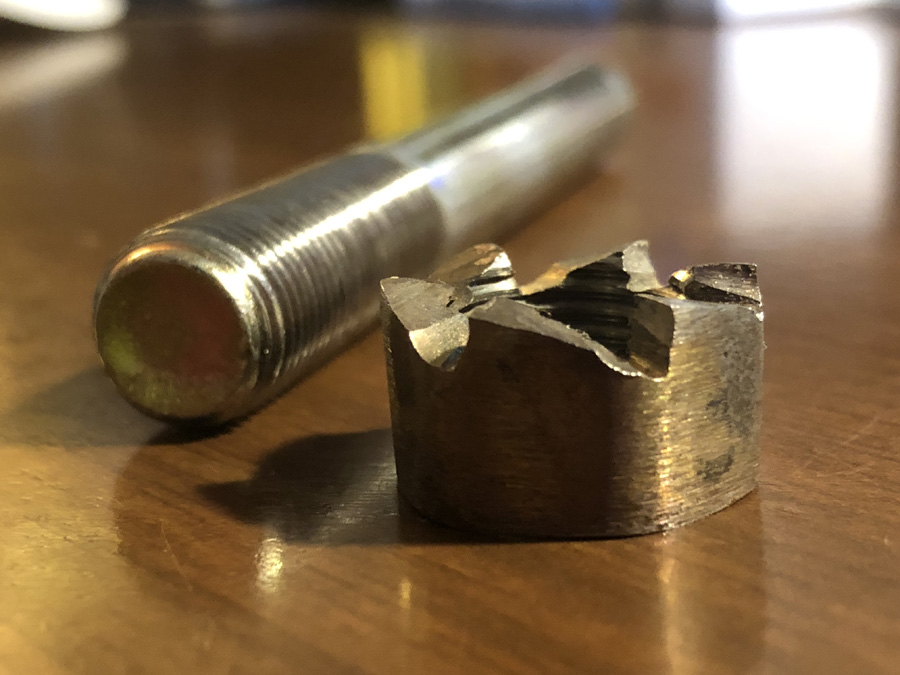
The counter sunk back cutter makes a hole slightly larger than the socket I use to tighten down the nut on the barrel jack.
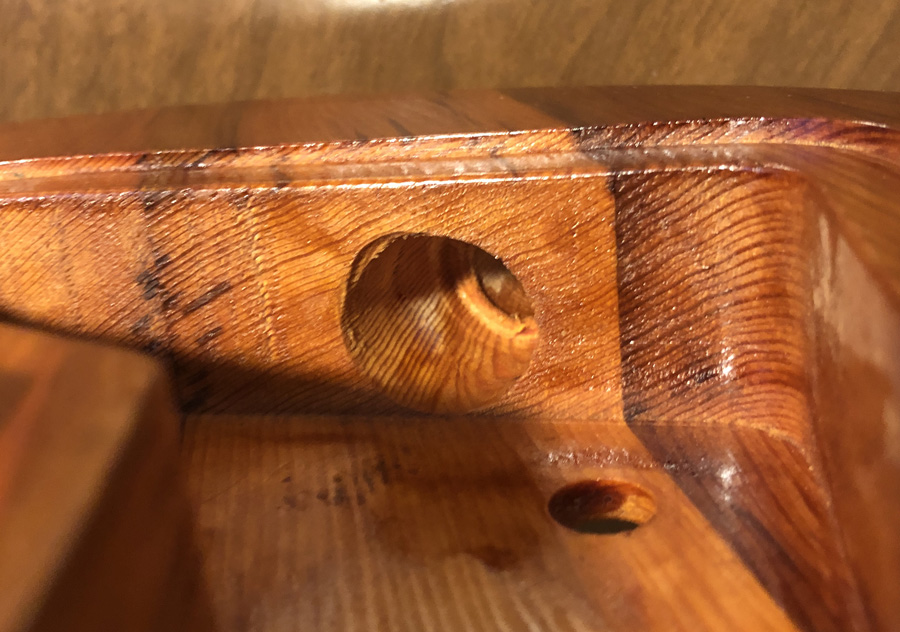
Countersunk:
First coat of garnet shellac, it's going to get more red:
I cut the neck from the leftover billet I glued up for the cello/bass hybrid neck. There was a lot left over. Enough for two, maybe three, more necks.
This is a five piece neck, walnut and maple, with a scarfed head stock. A very thin, flattened 'D'
profile. Speedy!
I put in a volute for some extra meat where the oversized trussrod recess is.
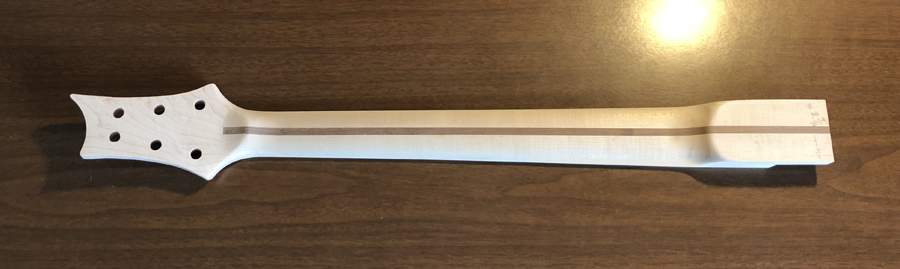
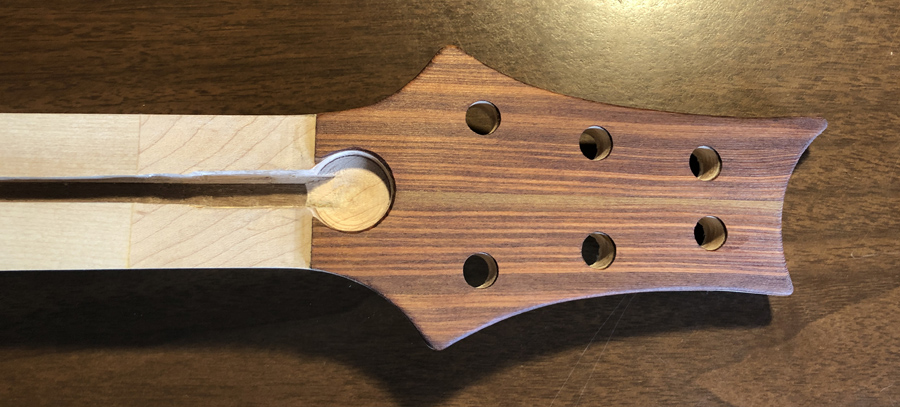
I cut a few strips off one of the heart wood stakes and made a headstock cap. Bookmatched and everything. The neck joint is well back under the fretboard.
Next time I won't cut such a bathtub for the truss rod nut adjuster...
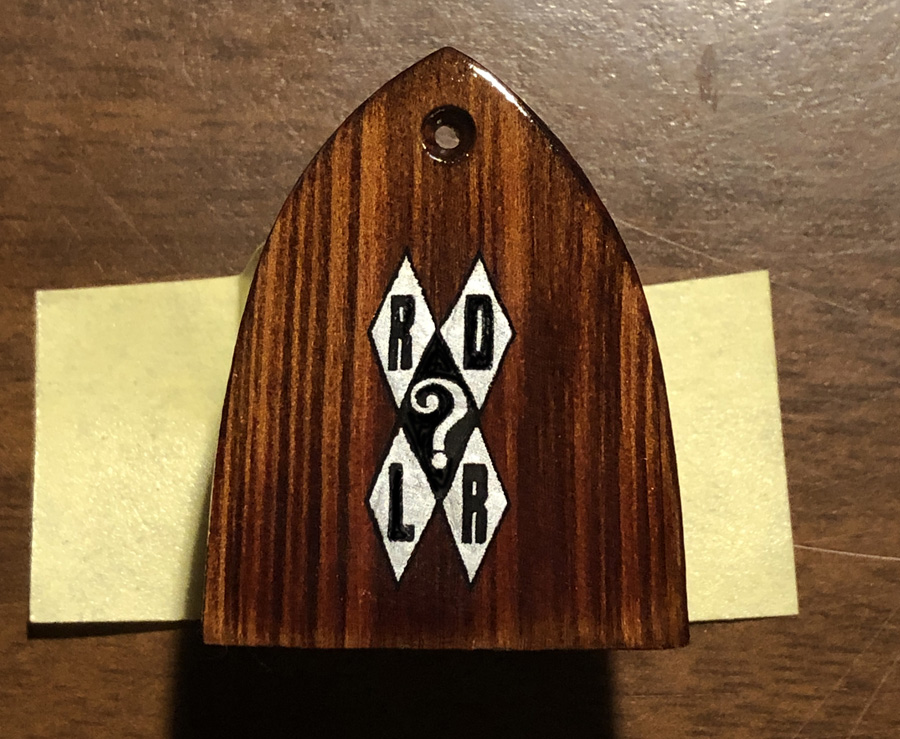
I made a logo for the truss rod cover plate. His initials, and logo. This is a laser decal, slipped off and back filled with a silver paint pen (home laser printers don't print silver). Once the paint was dry, I resoaked it, flipped it back over and mounted it. Then I buried it in lacquer.
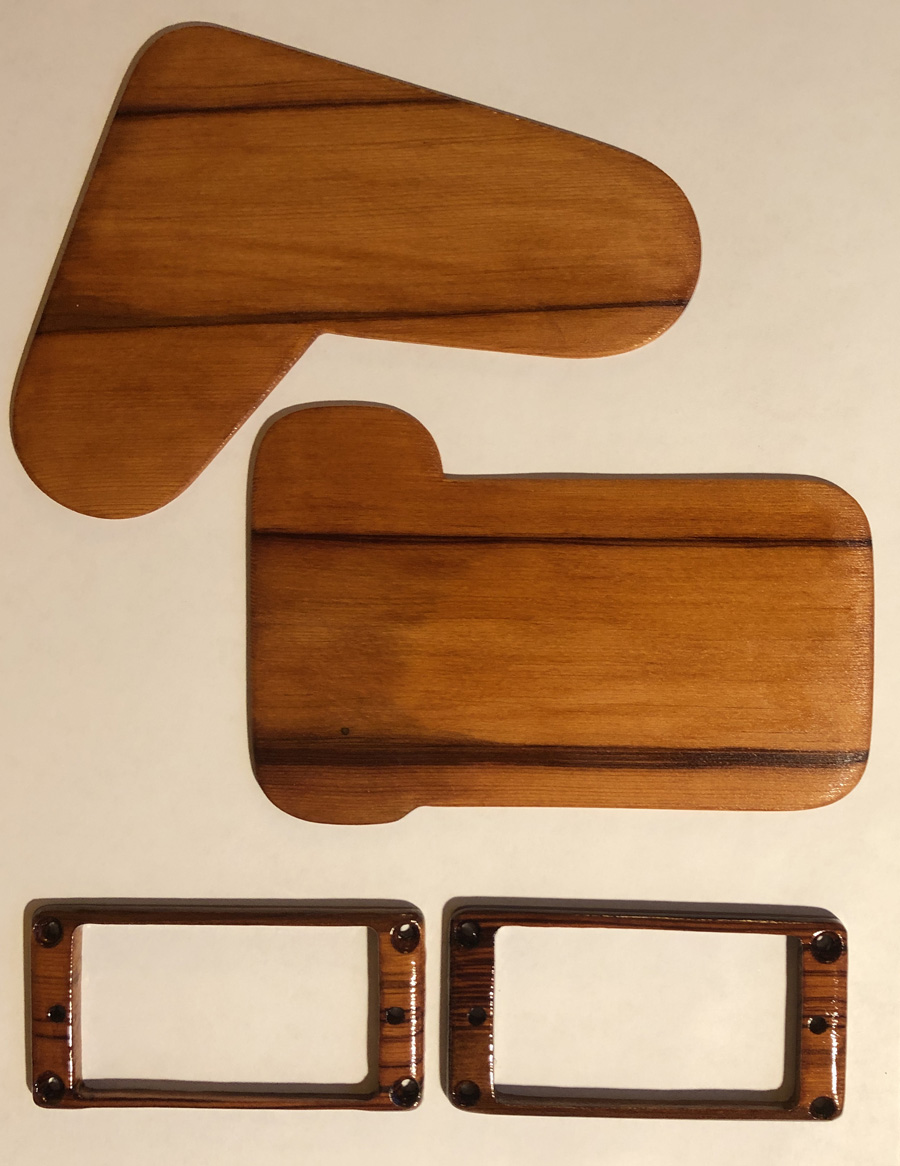
For the control cavity and spring pocket covers, I zipped a piece of "four-sides-clean" stake through the tablesaw at about 3/16" per cut. Then, I glued the pieces together to form a sheet. After this sheet dried, I noticed it had an excellent tap tone. An acoustic grape stake top guitar could be next...
Anyway, I traced off the cover shapes and cut them out with the jig saw.
Cavity plates shellac coated, ready for lacquer
I needed some humbucker rings, so I made a pair out of more grape stake wood. We'll see how the pick-up rings hold up. The dry heart-wood snaps if you look at it funny, so I soaked it in wood hardener a good while before shellac and lacquer.
3rd coat of Shellac:
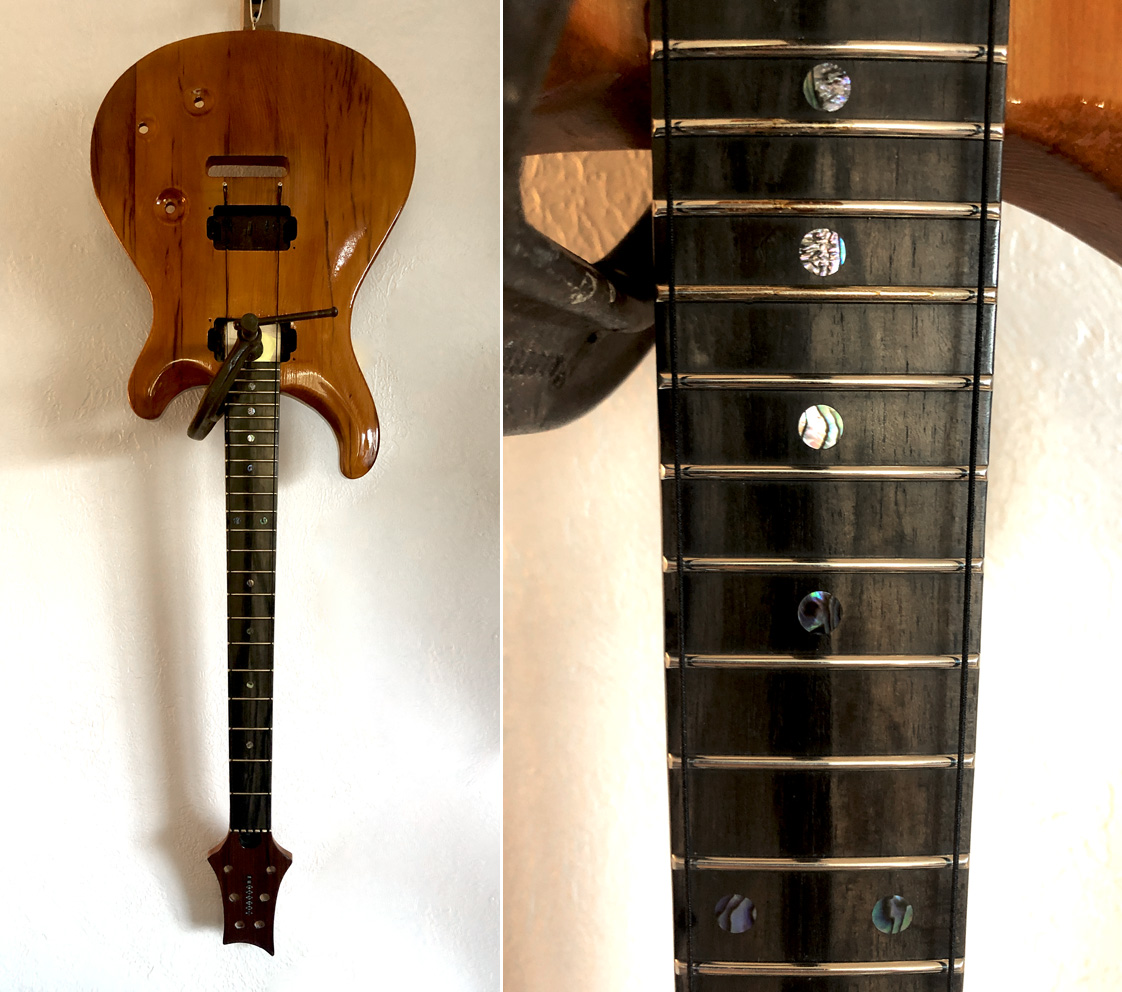
Neck glue up. A big C clamp, and some stretchy string for alignment. I looped the stretchy string over the outside pivot holes on the bridge. They line up with the E's. Then I stuck in a temporary nut and ran the string over the nut and through the tuner holes. I'd already teased out the correct neck angle, so glue applied, one very, very slightly nudge to perfect, then clamped tight. Oversize abalone dots look nice. You can see some of the nice creamy streaks in this ebony fretboard. It's not jet black.
•
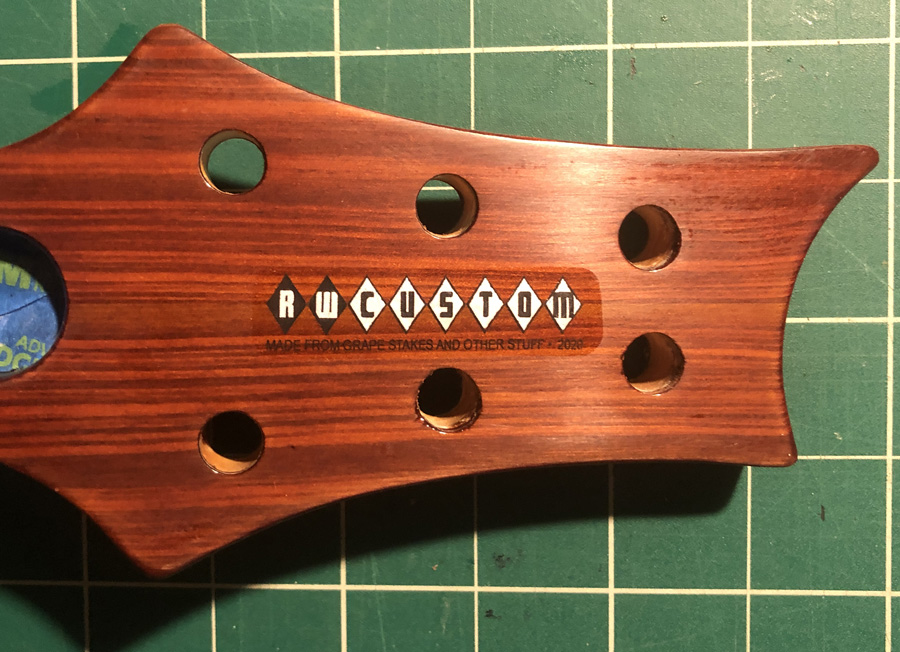
Obligatory custom logo. Still working on a "real" logo, but I like this one for now. Wouldn't be so good as a trade name, though. There are dozens of "RWCustom" companies. Looks like "RickWrench" may make a comeback. It's only two more diamonds.
And lacquer time! Last coat drying, tape stripped off fretboard. I was going to use a walnut fretboard at first. Then I thought about using steam to un-bend a barrel stave (nice white oak) as stock for a fretboard. In the end, I ended up using a marbled eboby fretboard, and then used the jumbo-est fret wire I could find. It's so 90's awesome. I signed this one in the neck pickup route.
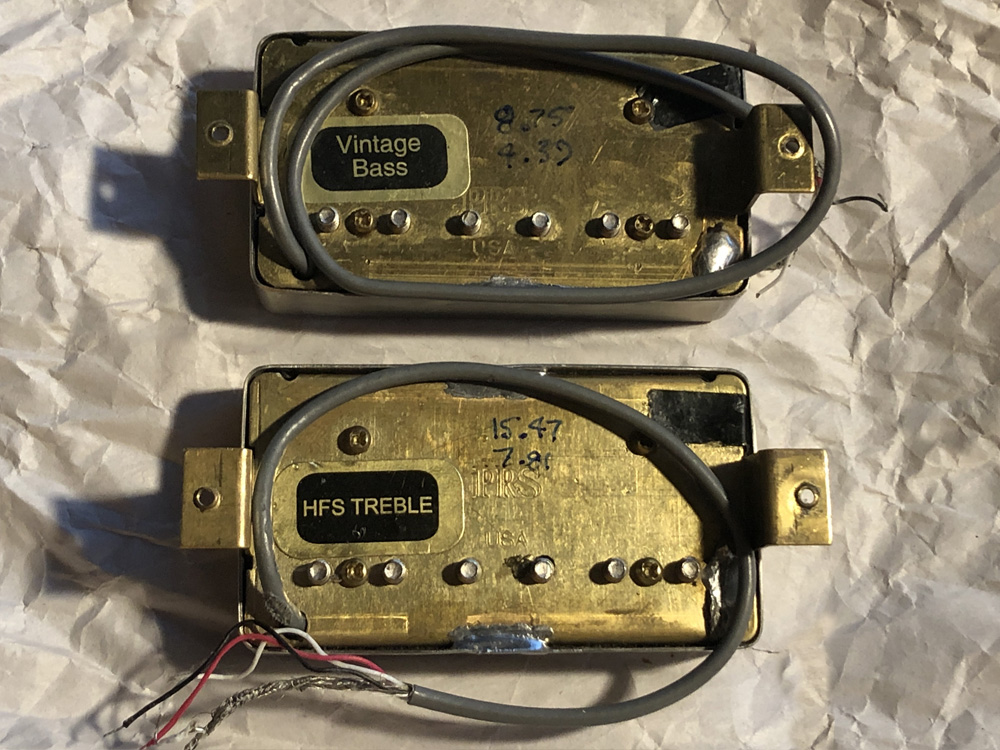
If you want it to sound like a vintage PRS, then a good start is original PRS pick-ups. The Vintage Bass
neck pick-up is an Alnico 2 magnet, and the bridge HFS is a ceramic magnet. About as different as you can get.
The numbers are total and split resistance. These pick-up pairs have different magnet polarity compared to "normal" humbucker pairs.
Wired, assembled, and ready for strings.
The tuning machines are very nice Rotomatics. Still has the temporary nut in this shot, but I replaced that with a custom carved bone nut. HB rings in, tremolo installed, and springs roughly adjusted. Strap locks on.
The knobs are all smooth sided speed knobs. 1 volume, 1 tone, 1 rotary 5-way pick-up selector. I swapped the tone and switch locations, purely on personal preference. Also, the knob for the rotary pick-up selector is normally just a regular 1 to 10 knob on a PRS. I picked up some blank knobs and drilled smill divots through the back-side paint at the selection detents. Then I put a drop of white paint into each divot. 5 detents, 5 white dots. A little easier to see than just using 6 through 10 on the normal knob.
I'd prewired the pots and rotary 5-way switch using a piece of cardboard with appropriately spaced holes. This one has the original size treble bleed cap.
The 5-way rotary switch is wired just like the early 5-way rotary PRS Guitars:
• Bridge HB
• Outside coils in parallel
• Outside coils in series
• Inner coils parallel
•Neck HB
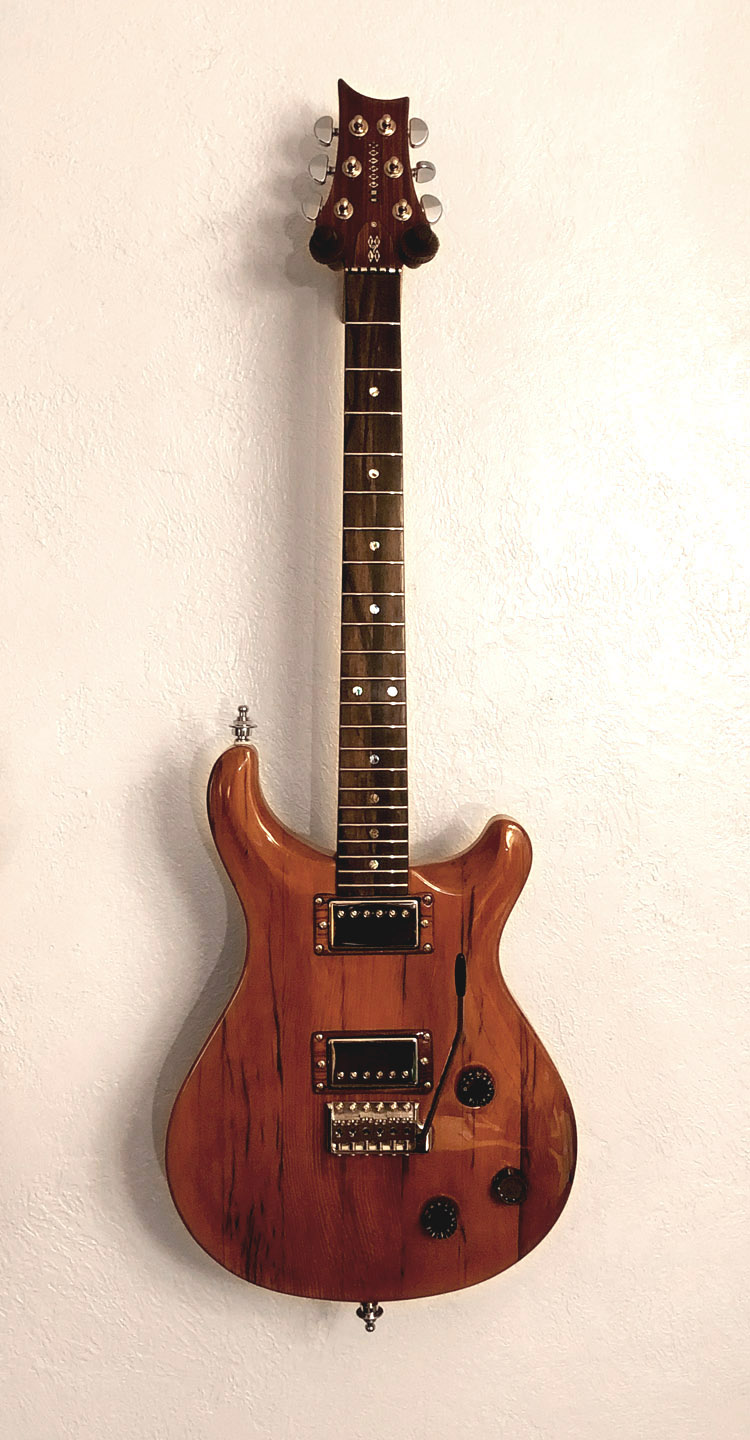
All strung up!
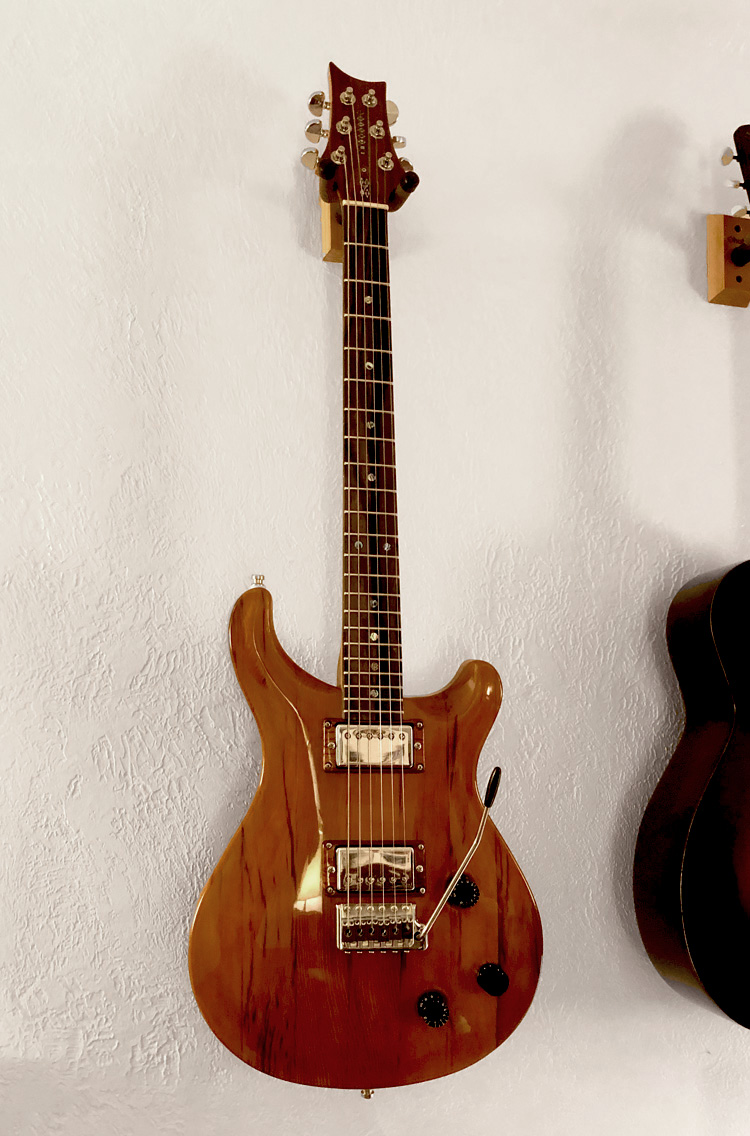
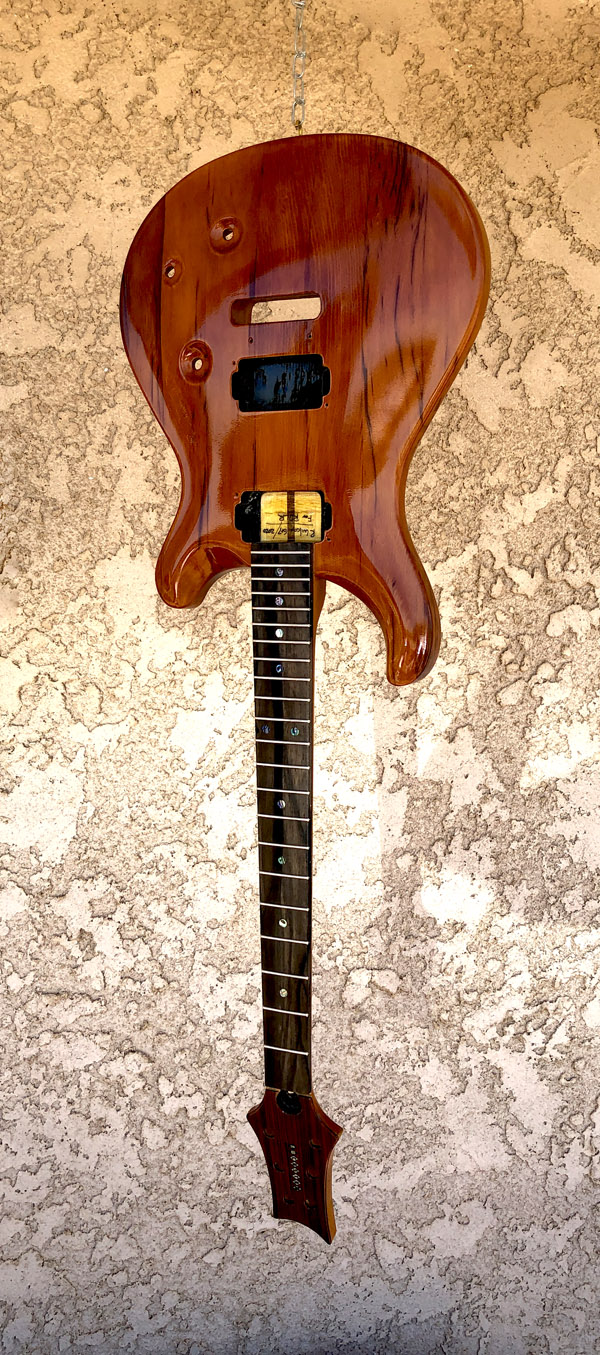
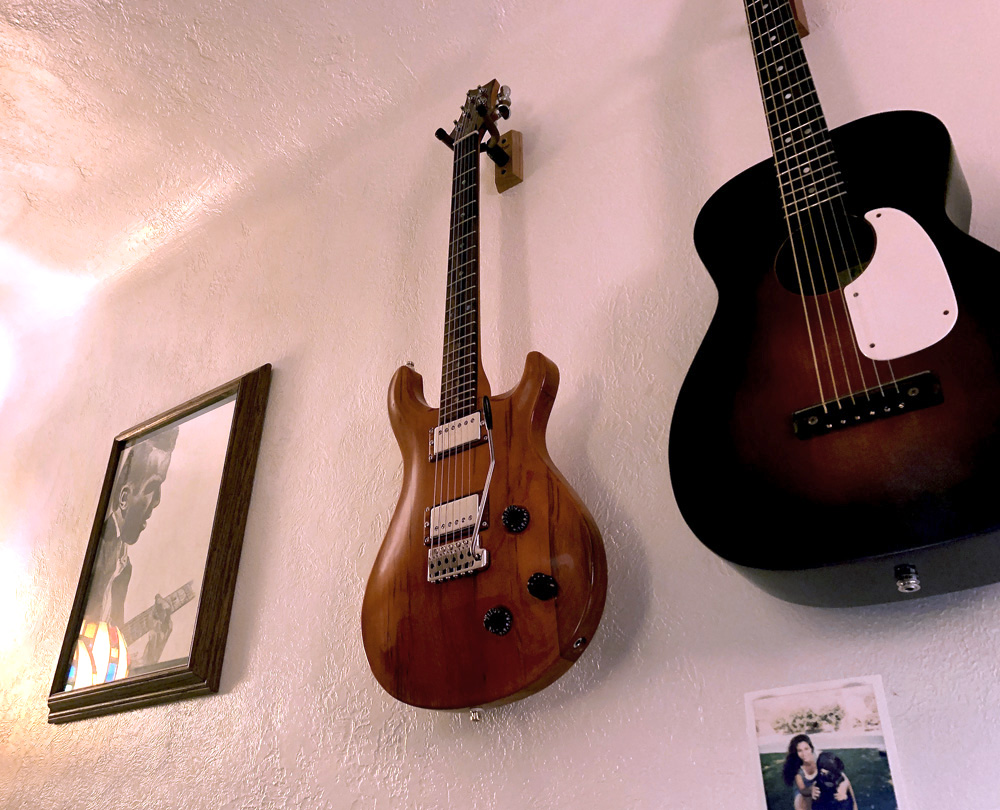
All set up, and on the wall, until it's safe to deliver.
Since it's just hanging on the wall, taunting me, I've been playing this one fairly often. It sounds great. Just like the sound my old guitar player got 25 years ago on his PRS. Screaming thunder to smooth, buttery jazz.
As is normal with these builds for friends, I end up liking the final product so much that -I- want one, too. So I'll be building something like this for myself shortly. Maybe not the same body style, but definitely the same pick-ups and electronics. And the PRS tremolo is fantastically smooth. Close to Mosrite tremolo smooth. So, whatever the next build for myself is, it will have one or the other.
Eventually lockdown will be over, and I'll have to deliver this one.
Back to Top Level