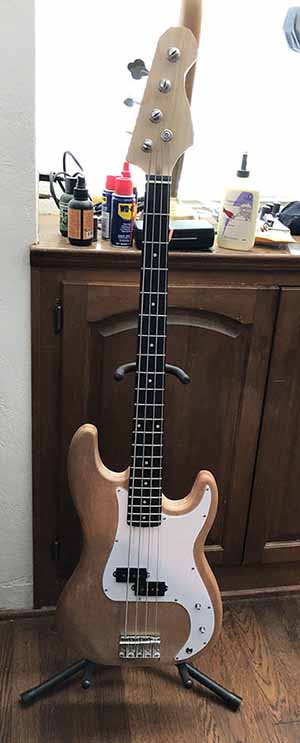
P/Tele Bass
This bass was mostly "complete" as part of the "big box of guitar junk" I'd picked up from the funny music kid.
It needed serious attention though. The bridge was off center, and mounted at a slight angle, the pickups had two dead poles, both pots had dead spots, bare-unfinished wood body, and the headstock was pretty severely hacked. Looked like someone went at with a pocket knife... There were a few high frets, too. Otherwise the neck itself was pretty nice. A good middle of the road profile - more P than J. All in all, a decent place to start.
Disassembly was quick and easy. The electronics were junk. The cheapest crap I've seen in awhile. Except for the green chicklet cap, everything got stuffed in the garbage. I had a nice SPB-1 p-bass pickup set, still in the box that I decided to use.
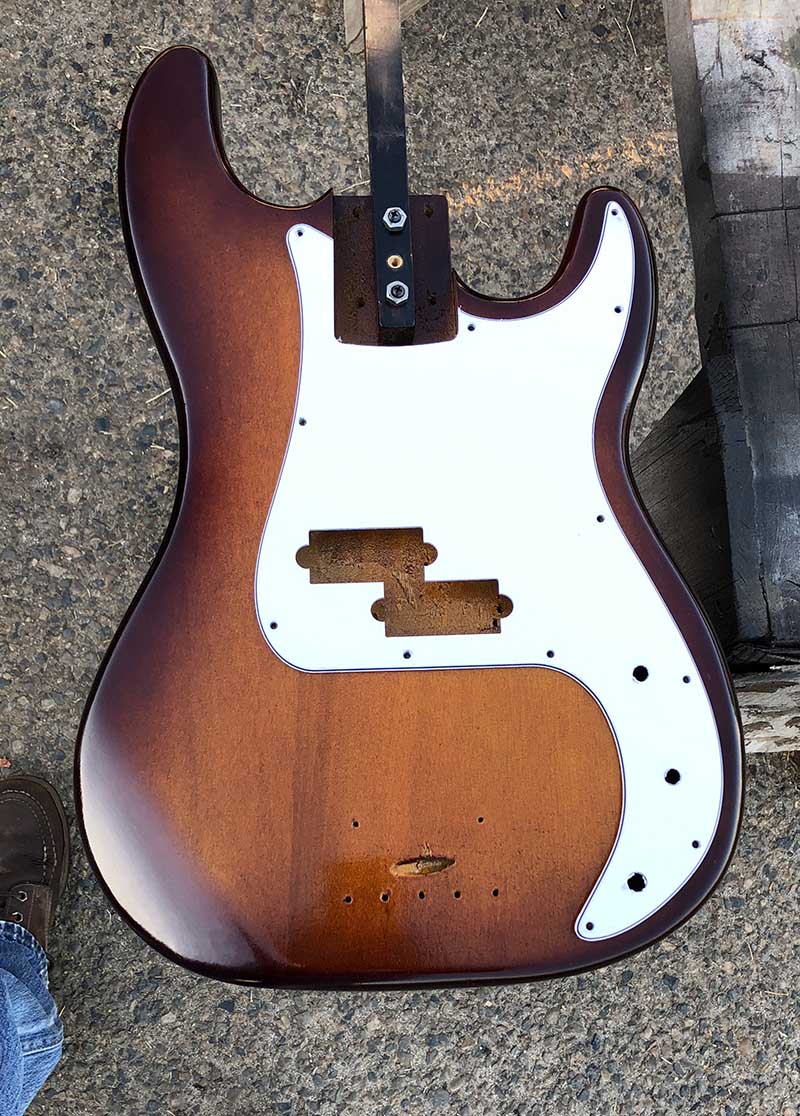
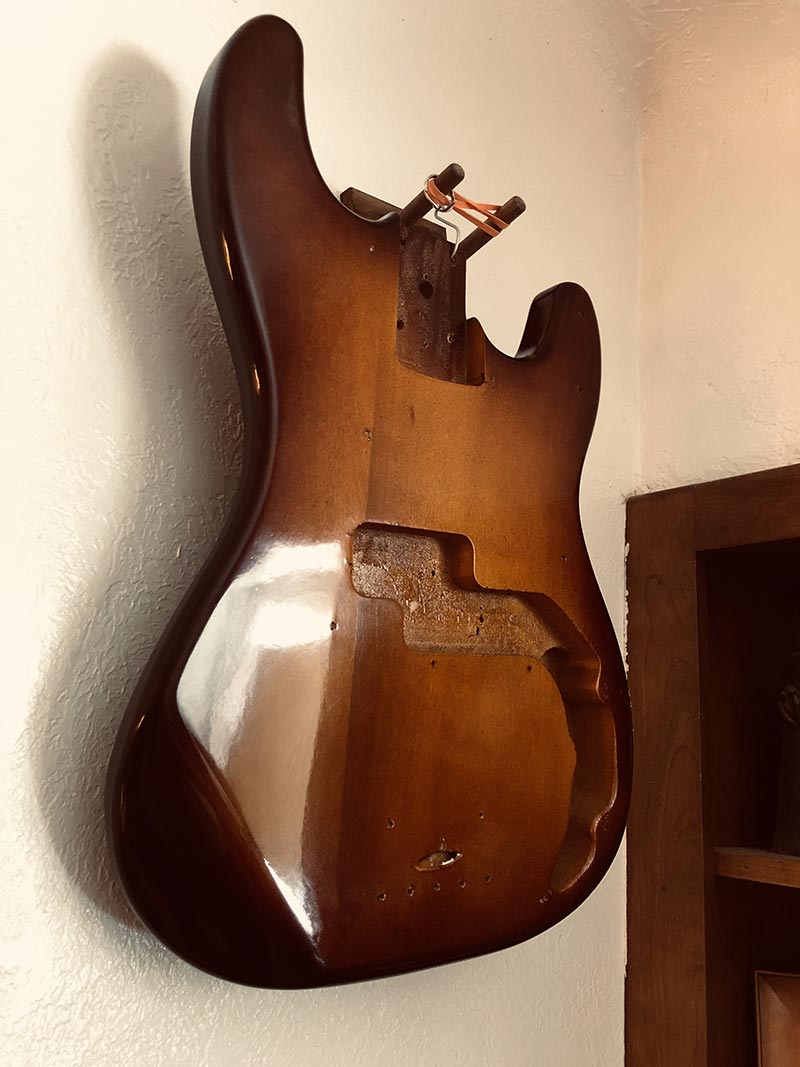
But first, the body. The bare Peavey Predator body from this same box of junk was contaminated, probably silicone. And I expected the same on this body. I did a small test spray with sanding sealer and pop-pop-pop, craters and fisheyes. So I re-sanded the whole body and sprayed several light coats of shellac. Once dry I hit it with a few coats of sanding sealer again, sanding to matte with 400 after three coats. Then I layed down the tobacco burst coats. Then about 5 layers of clear. After a week, I sanded with 800 and then 1500, 2000. Then I spent some time with rubbing compound and polishing compound. It came out pretty good for a contaminated body. Pits.
Next was the neck.
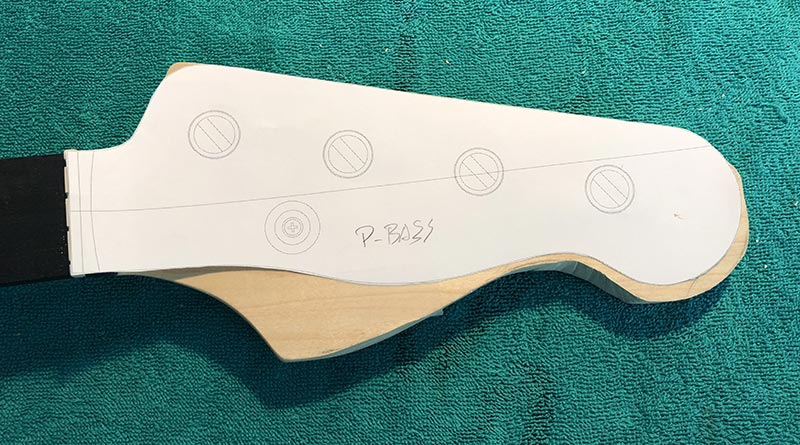
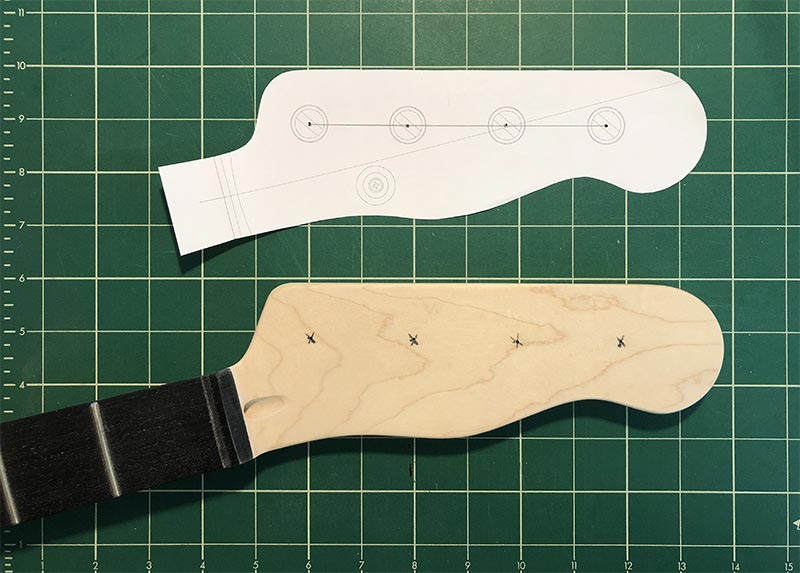
First off, the headstock. The shape was "sorta" P-bass, but not really. And I don't know what type of rock or dull axe had been used to carve it, but it was messy. I printed off a few templates of Fender bass headstocks and the only one that would work was the old "telecaster bass" headstock. Which was fine, I like that headstock. I traced off an outline and worked the head over on the belt sander. In twenty minutes I was done.
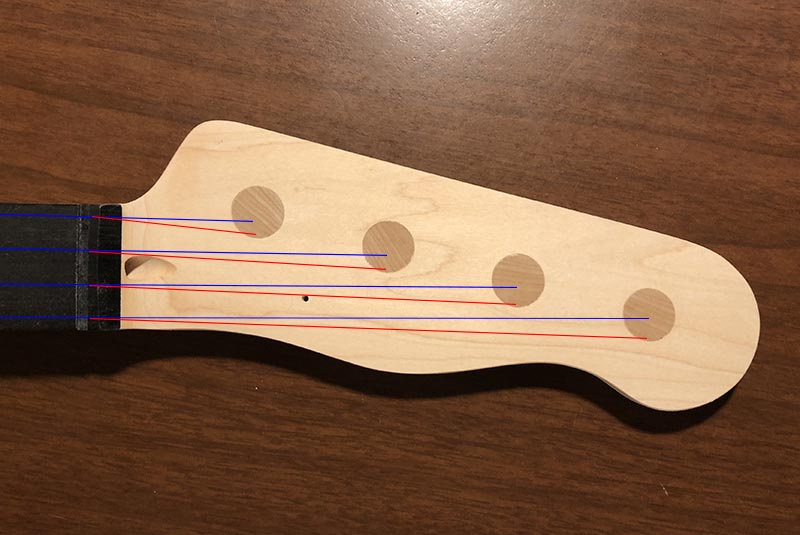
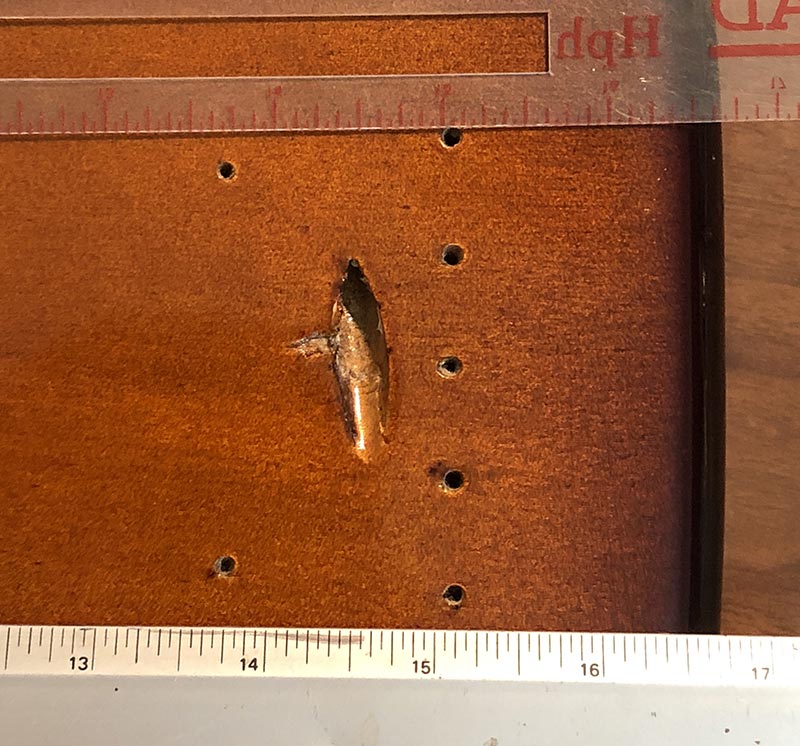
Next, the tuners. Tuners need to be lined up (more or less) with the strings they tune. Significant sideways changes in direction off the nut are "not a good thing" in luthier talk. The tuners on this head stock seemed rather... random. And all were off line by a significant margin. Whoever originally drilled them forgot that the string winds on the outside of the tuner post. And that the E is generally around 0.10" thick. Schaller posts are thick, too.
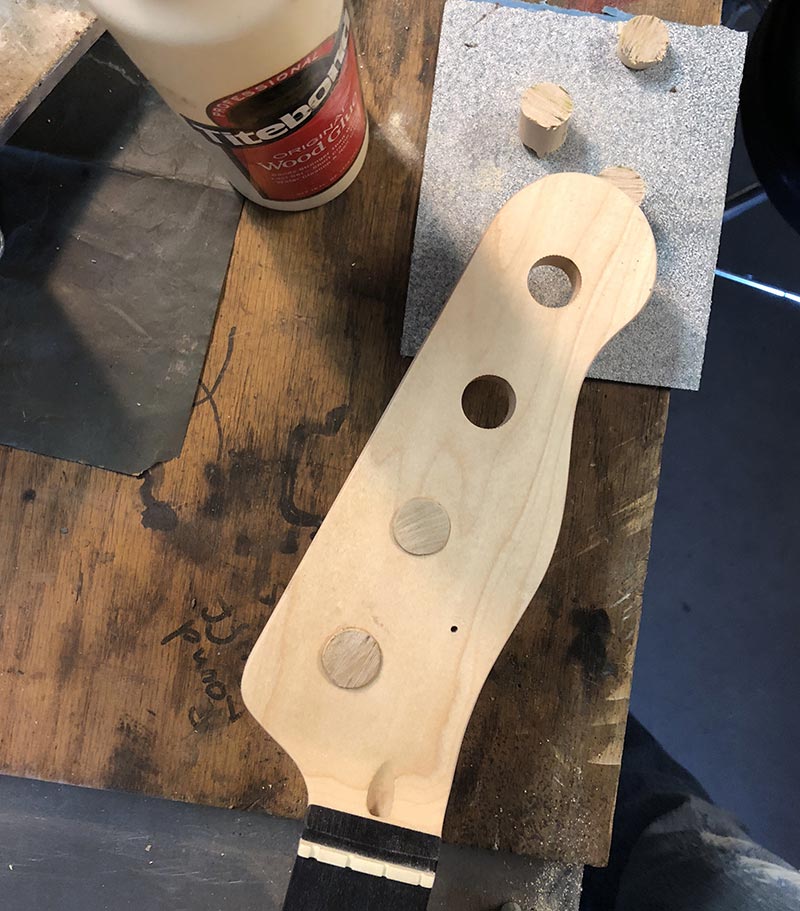
I cut some plugs from a maple dowel and tapped them in, using Titebond #1. I left them about 1/8" proud, front and back, and packed the seam areas with maple saw dust.Below- Original string break (red) vs where it should be (blue).
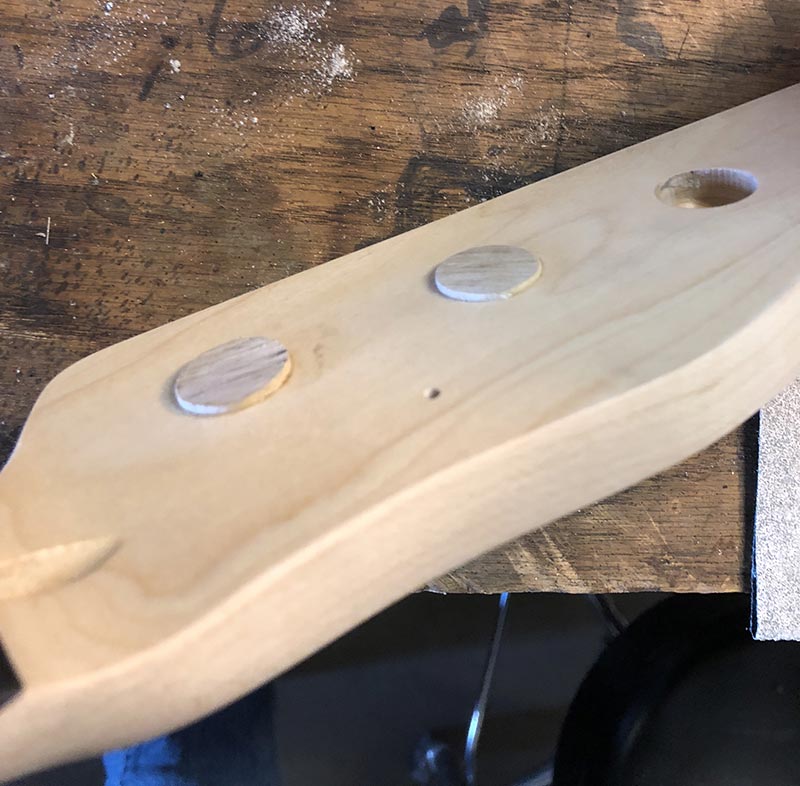
Once dry, I hit the trusty belt sander and smothed them down flush, front and back. But now I had ugly (yet perfectly smooth) end grain circles in the face of the head stock. The headstock needed a veneer or cap.
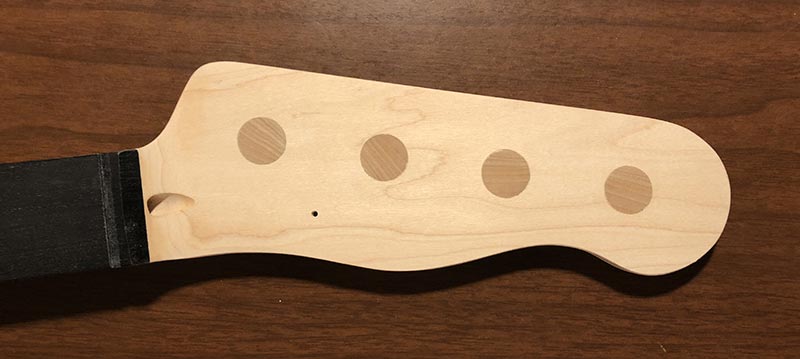
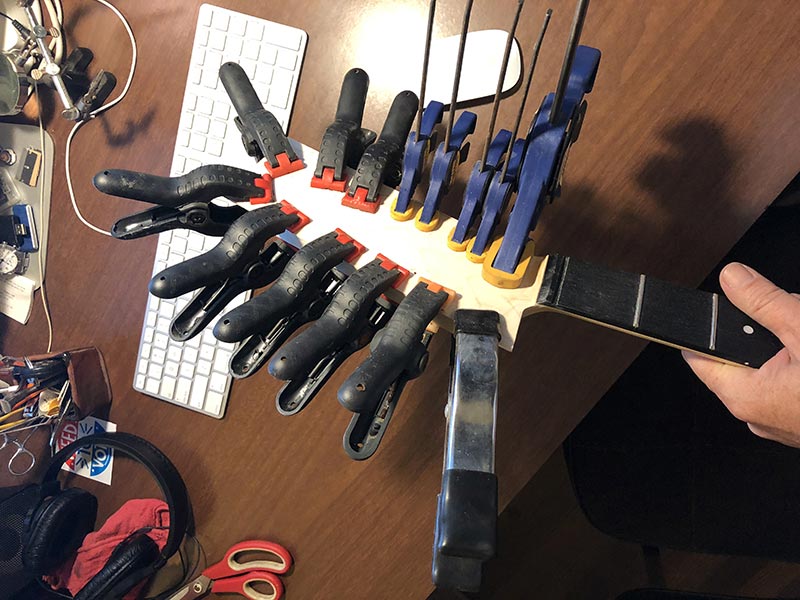
Putting a veneer on a Fender sucks, because the face is not flat. It curves up to meet the fret board. You need thin enough to steam in a curve, but still thick enough to finish sand. I used a sheet about 1/16" thick. I dug a slight relief under the fretboard, so the top of the veneer would be flush. Then glue and clamps. Once dry, I used the belt sander to get close to the head stock edge shape, then finished off the sides with a block. I carved out the truss rod hole and sanded it smooth.
Glued and clamped.
All done.
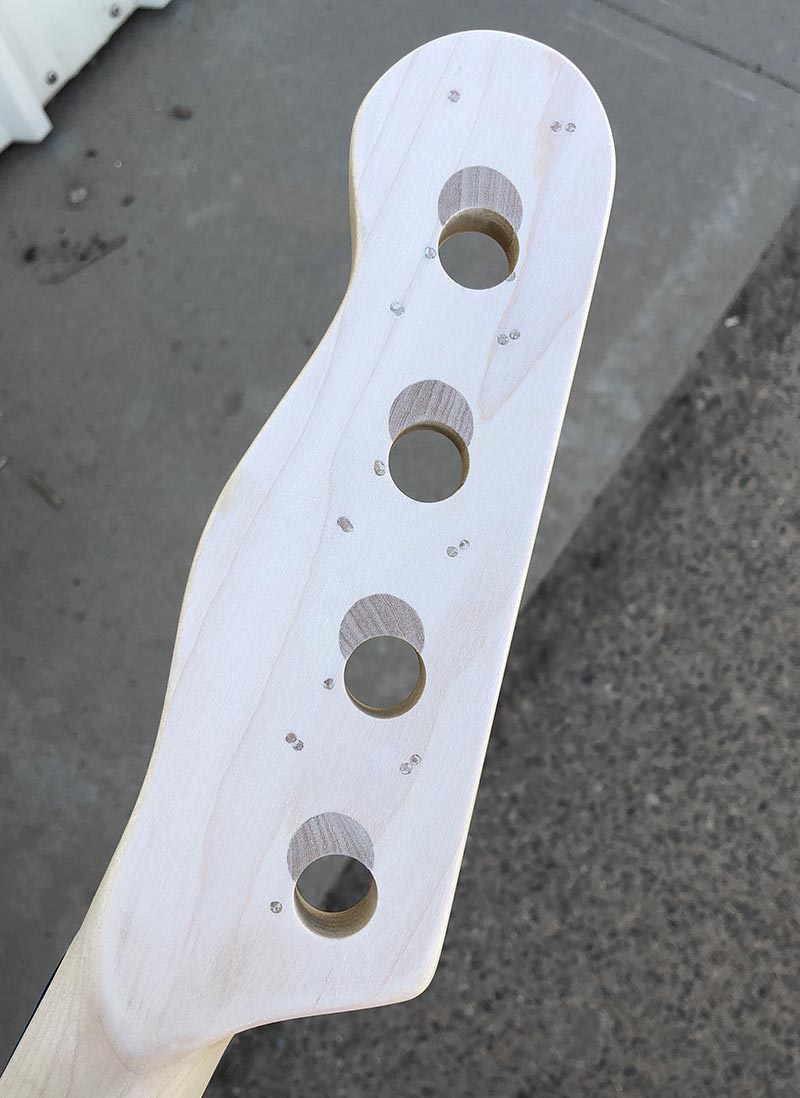
I left the back side as is, plugs showing, since they will be under the tuners. I filled the screw holes using toothpicks.
Then I marked off the new hole locations and drilled them out. I used a new forstner bit and backed the headstock with a sanded flat piece of pine, clamped in solidly. No tear out.
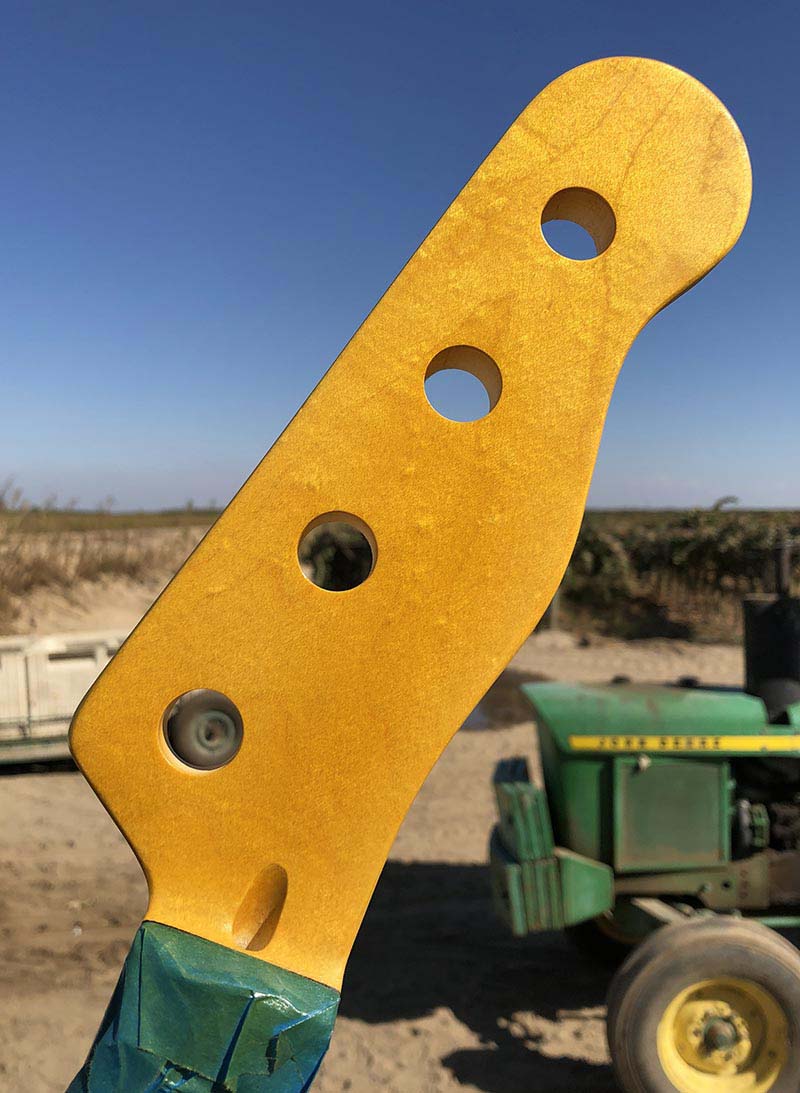
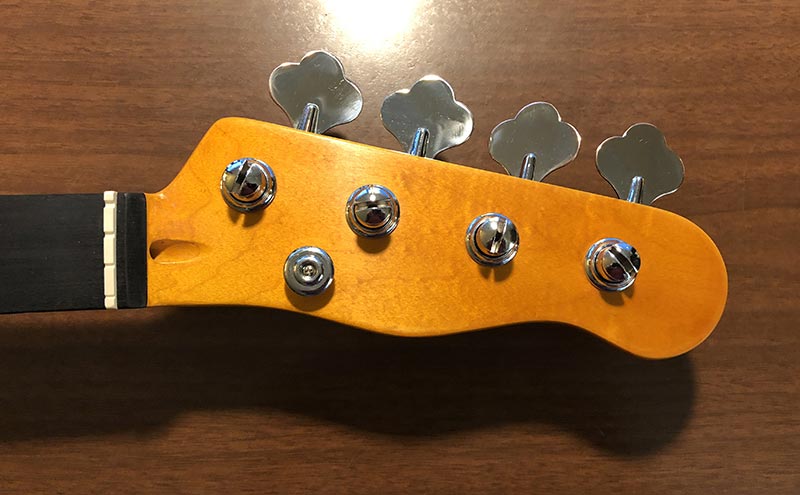
I sanded the neck smooth. It still had some finish on it, so I think any silicone was removed with the lacquer thinner wipe downs before sanding. I went to bare wood, but not all the way through the filler. I sprayed a few coats of sealer on the headstock, then several coats of "vintage amber", followed by a couple clear gloss coats. On the neck, I sprayed a few coats of vintage amber and then a few satin clear coats. The back of the headstock got the same as the front. It turned out very nice.
No decal. It's a "P" bass. But "P" stands for "parts" in this case, not precision.
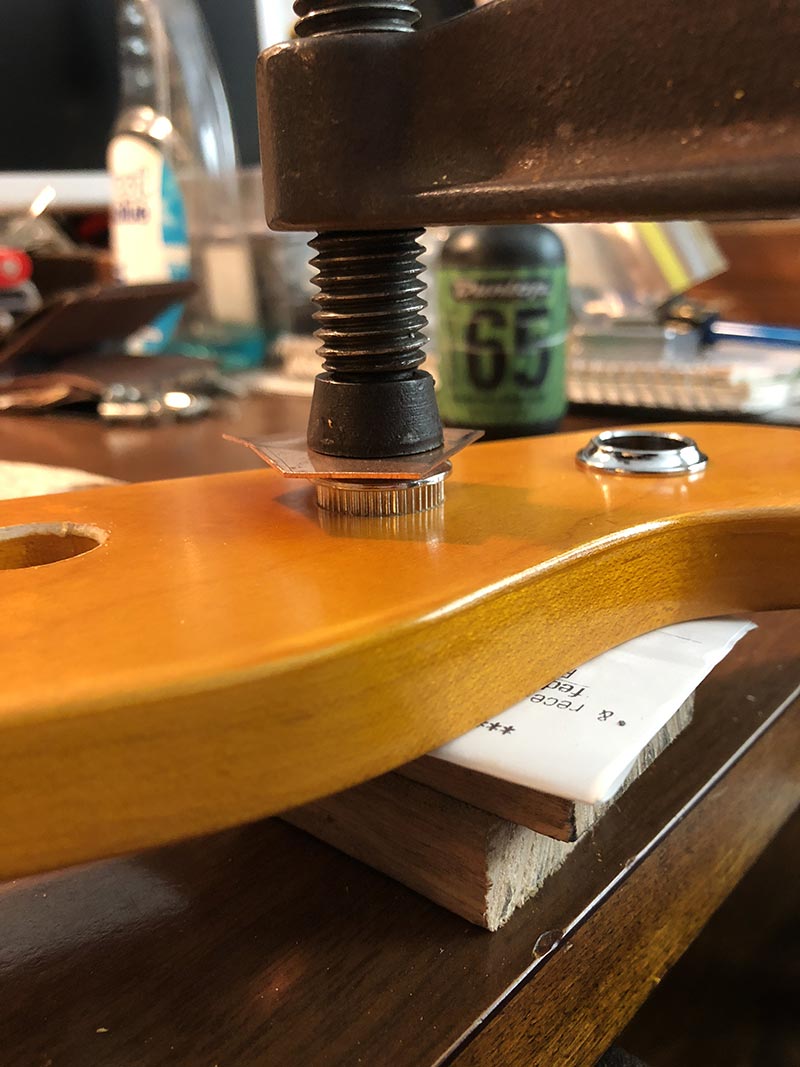
And in go the faux Schaller bushings...
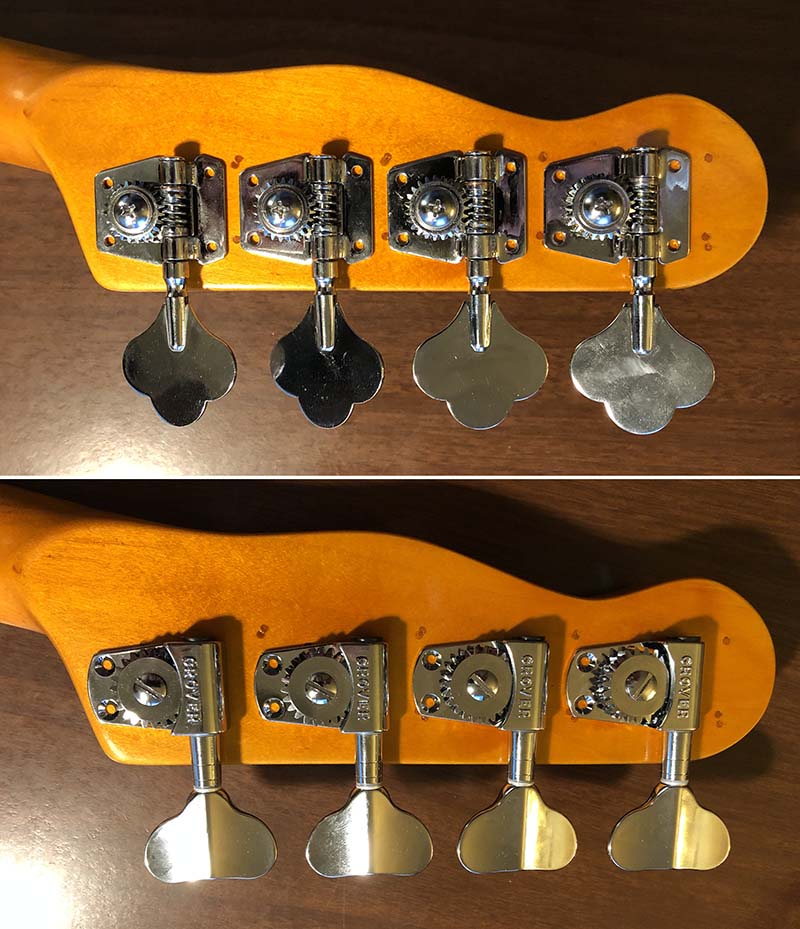
Chrome is worn off and copper base is exposed on the formerly sharp edges of the stamped tuners, from a light sanding and buff out. A trade off. They'll tarnish up a bit in time (Fender calls it "relicing", charges a fortune), but now they won't slice open my fingers when I tune. Other than the sharp edges, the tuners were pretty nice, with no free play in the gear mesh. I have a spare set of Grover 145c's, and I tried them out on this bass, but decided to go with the traditional elephant ears. I'll save the Grovers for another bass. There are two more to go in the big box.
The neck pocket in the body seemed a little wonky, so I shaved the questionable spots until it was -absolutely- flat. But I forgot to take pics...
Then, I bolted the neck and body back together. Very tight and solid. Very snug fitting, no shims needed. I used an old Fender bridge, modified way-back-when (two extra holes drilled, countersunk, up front). The bridge that was originally on the bass was a badass clone, mounted about 3/16" of an inch to the treble side and at a slight angle (so by eye, and good luck). The original Fender bridges didn't have front screws, and relied on string tension for solid 'whole bridge base" connection to the body - unless you drilled two holes in it yourself. More toothpicks and Titebond filled the holes. I would have filled them before I finished the body, but I'd completely forgotten that the bridge was mis-aligned until I was putting it all back together. They're under the bridge anyway, so I'll have forgotten about them being there in a few weeks. I also soldered the ground directly to the bridge, rather than the typical squish contact scheme. Now, with the combination of a tightly connected neck and 7 long bridge screws, and some unknown (but very resonant) mystery wood, this thing has sustain for days. I mean -forever-. Hit a note, and the band could go have a beer, come back, tune up, and it would still be going. Is that good? ...I don't know. Thinking about how I play, I don't ever really hold a note for that long. And original P-basses had a giant chunk of foam in the metal bridge cover to kill any sustain. James Jamerson's P-bass would be -the opposite- of how this bass is set up. Hmm.
Regardless, either direct in, or shaking the house through the SVT4pro + TL606's , I think it sounds pretty GD good!
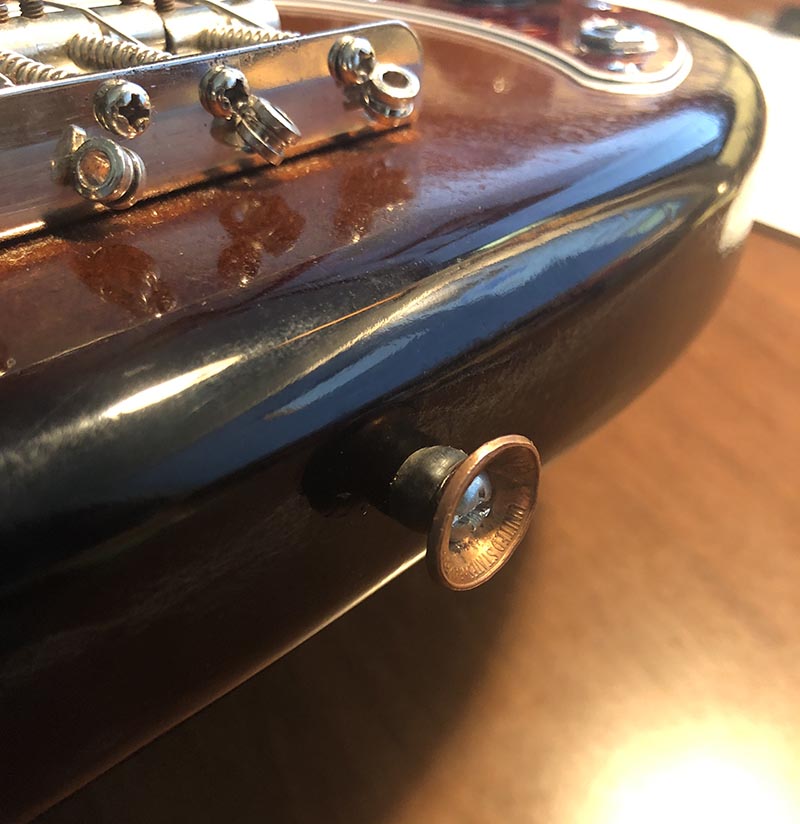
I was going to use the white generic pick guard that came with the bass, but I really like tortoise with a tobacco burst. So that's what I ended up using. I still have a bunch of chicken head knobs, and spending money on these "junk guitar" projects goes against the spirit of the whole endeavor. I'm going to -try- and build them with what I have on hand. For example, this bass didn't have any strap buttons, so I domed out two pennies, drilled holes, slid short chunk of vacuum tubing over the screw shaft, and - strap buttons. Just slightly oversized, because if anyone will drop his bass on stage, it will be me.
Before and after.
Inside, the nice Duncan SPB-1 is wired to NOS (-my- old stock) CTS A250k pots. I used pushback wiring throughout. For the tone cap I used a Mullard fish cap @ 0.22uf. Yeah... 0.22uf, not 0.022uf. Since I was using such an extreme and mud heavy cap, I wired the tone circuit on the output lug on the volume pot, just like an old LP junior (aka, "vintage wiring"). This adds a good bit of presence, keeps the highs in the mix as the volume is rolled off. With such a thick tone cap, I can go from sparkly clean to deep, deep mud, and all the good spots in between. I thought about using a 1M pot for the tone, but it is plenty bright as it is now. I have a 0.22uf fish cap, from the factory, on my '68 Silvertone 1443 (with original 1M tone pots, 100k volume pots), and I've always liked the versatility and range of tone it allowed. In case you were wondering.
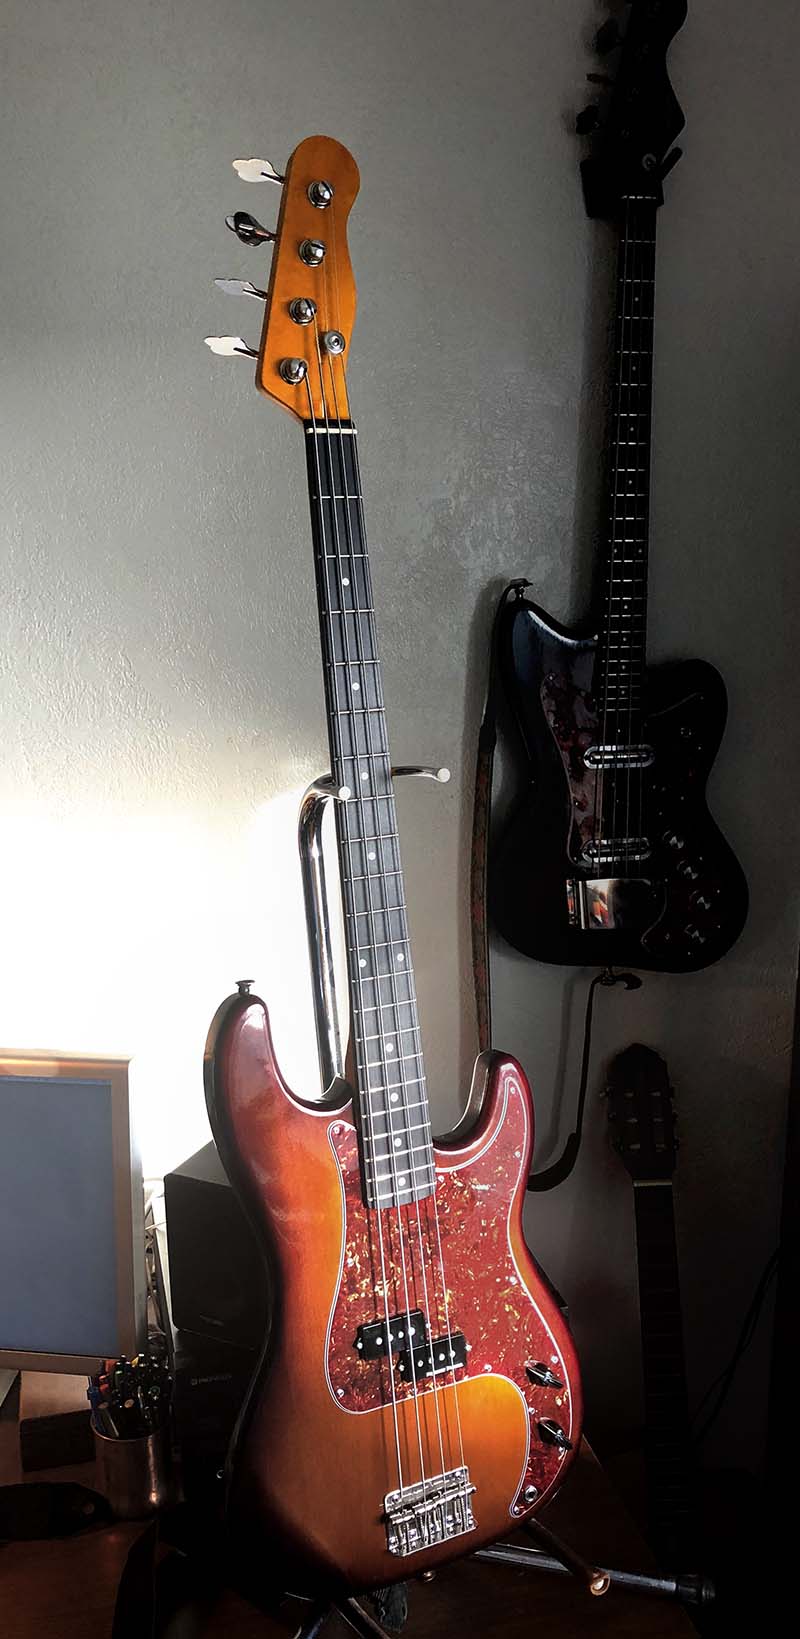
Better lighting, and the 1443 in the background, on the wall.
Along the way, (I forgot to take pics again) I leveled the frets, lowered the nut, and gave the fretboard a much needed wipe with Howard's orange oil. Truss rod lubed and works fine. The action is set low, intonation is perfect. All in, about $15 extra cash (on the pickguard) spent for this one, on top of the supplies on hand. That may jump to $40 though, since the "tortoise" pickguard is not really tortoise, but a tortoise print under clear. What did I expect for 10 bucks???
